Remote interviews have always been a staple in podcasting. But if you’re used to recording in-person or you’re considering launching a podcast, you’ll probably have a few questions about how to record interviews remotely:
Do I need a mic? How can I create a good recording environment at home? What software do I need? Can I record video remotely too? What’s the quickest way to edit my episodes?
In this article, we’ll cover everything you need to know to record and publish high-quality audio (and video) at home. From equipment and setting up your recording space, right through to editing and post-production.
Remote Recording Essentials
Before we dive into the specifics of remote recording, it’s important to make sure you’ve got the basics covered first. The basics being equipment, a good recording environment, and great guests. Regardless of which software you end up using, these are essential.
Buy a Microphone
The best recording software in the world won’t save you if you’re using an internal laptop or computer mic. They simply don’t cut it. Remember, if your audio immediately offends listeners' eardrums, they’re not going to stick around very long.
Fortunately there are loads of great plug-and-go USB microphones on the market that won’t break the bank. Here are some of our top recommendations:
- Blue Yeti ($130)
- Rode NT-USB Mini ($99)
- Rode Podcaster ($175)
While USB mics are incredibly convenient, they can’t quite match the sound quality of XLR mics. So if you really want truly professional-sounding audio, check out the video below which breaks down a great budget XLR setup for beginners:
The guest you’re speaking to may not have access to a mic, but listeners will be willing to forgive poor audio on their end as long as you (the host) sound clear and crisp.
Tip: If possible, get a pop filter for your microphone. This helps eliminate the hard plosive sounds “p’s” and “b’s” make when spoken into a mic.
Use Headphones
Headphones are really important for remote recording. Both you and your guest need to use them to prevent your mics picking up feedback. The quality of your headphones doesn’t matter as much as the quality of your mic, so if you already have a pair of earbuds, feel free to use those. However if you do want to invest in a dedicated pair, you can check out our recommendations.
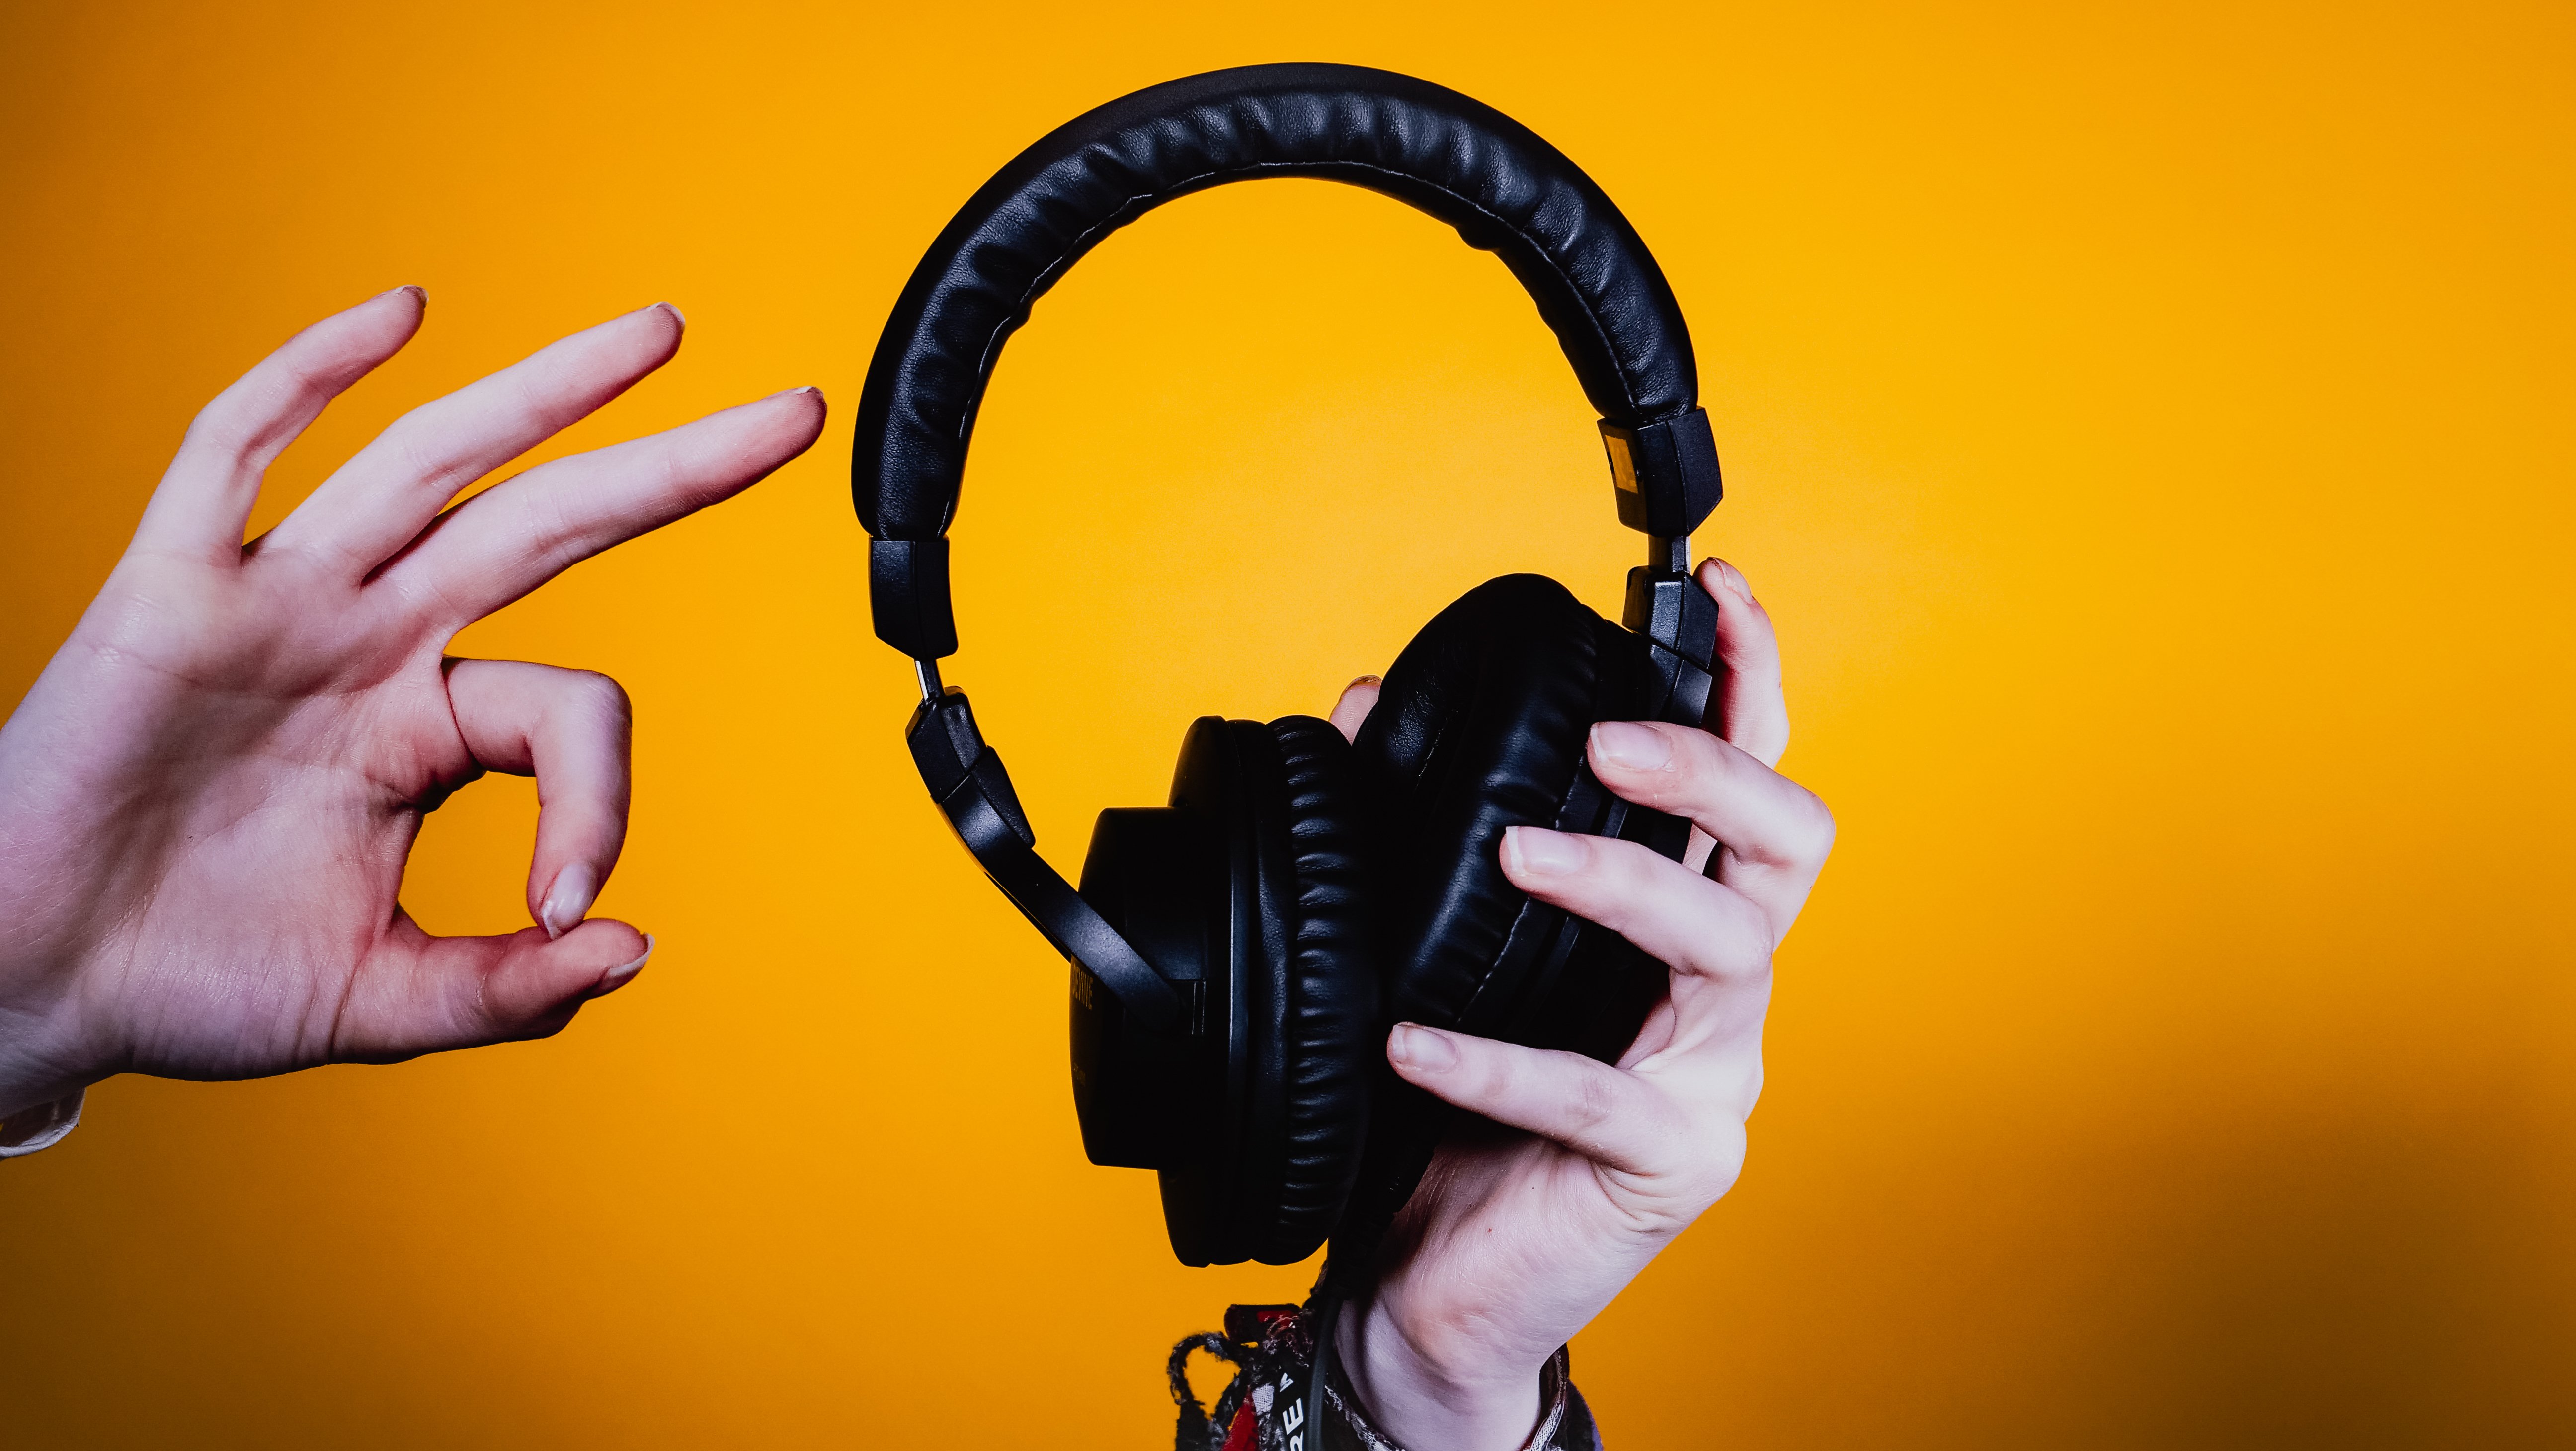
Headphones also give you more control over the sound so you can make adjustments on the fly. If things sound a bit muffled, move away, or draw the mic closer if your voice sounds distant. Your headphones will also let you know if you’re picking up any ambient background noise.
Setting Up Your Home Recording Environment
You don’t need to soundproof entire rooms. But make sure you choose a nice quiet space where you’re unlikely to pick up pesky background noises. Move fans and other things that make a lot of noise into another room, or switch them off if possible. Recording in a room that’s carpeted can also help as it dampens echoes.
You might want to put a “Do Not Disturb” sign on the door when you’re recording, to stop others in your home accidentally walking in halfway through (although we can’t guarantee young kids will pay any attention).
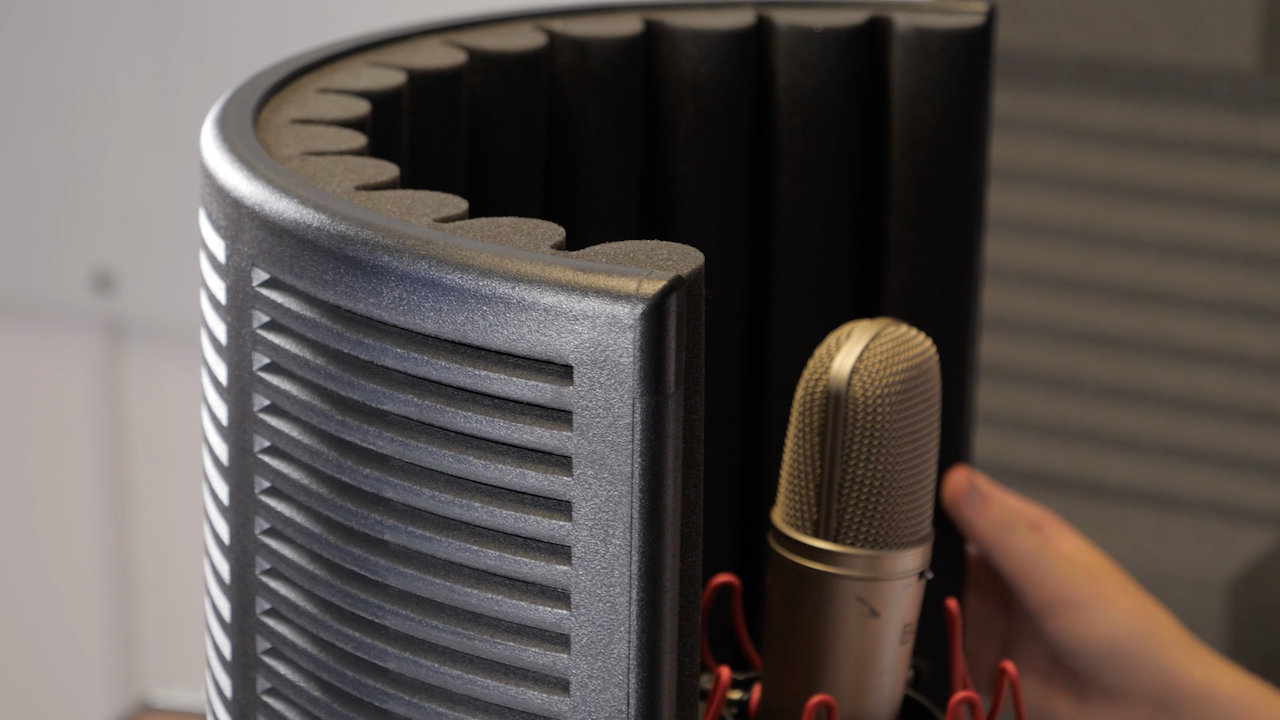
If you want to achieve more professional audio at home, we recommend buying a reflection filter. These can be fitted just behind your microphone to eliminate echoes, giving your recordings a studio-quality feel.
Finding Great Guests
Even David Letterman can’t do much with a guest who’s stiffer than a plank of wood. You can’t magically make someone interesting through the power of questioning alone. So half the art of recording great remote interviews comes down to selecting compelling guests.
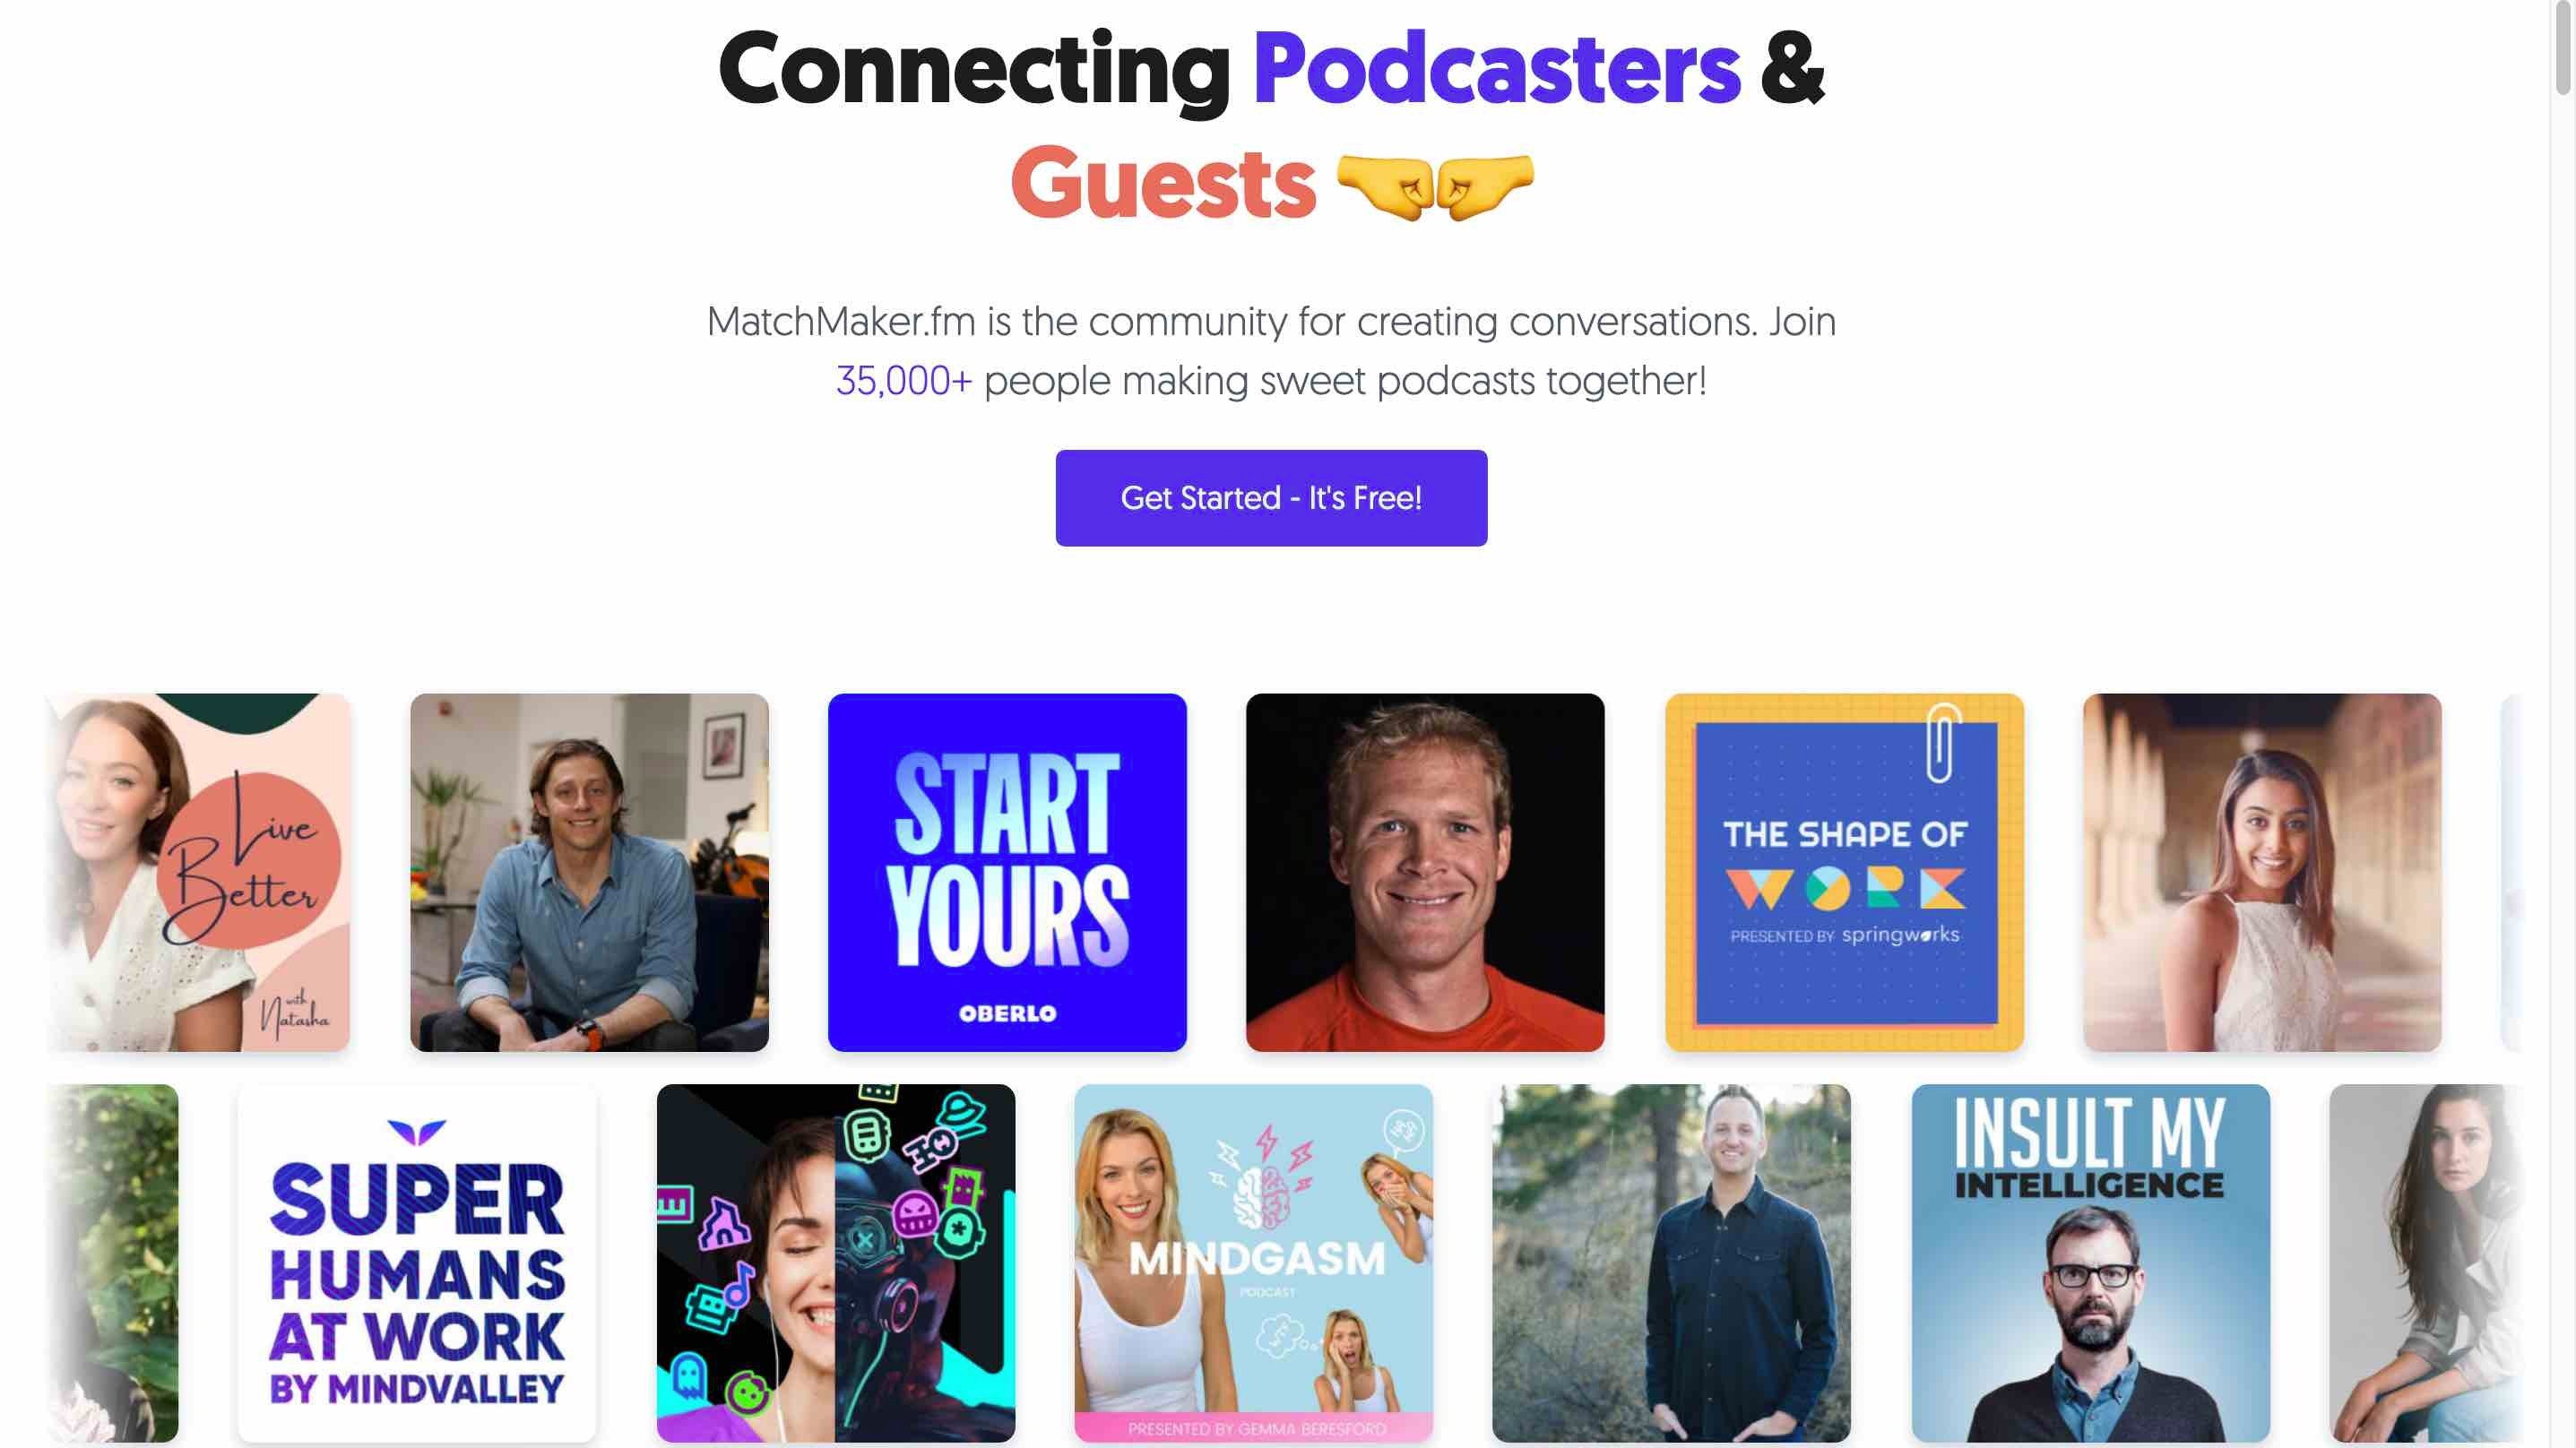
MatchMaker.fm simplifies the booking process. All you need to do is sign up (it's free) and fill in a few details about your podcast. You’ll then be able to browse a database of thousands of guest profiles and book the most relevant ones to appear on your show.
Tip: Use a scheduler like Calendly or Harmonizely when booking in guest slots. It makes life easier for you and your guests by cutting out any email ping pong.
Recording Audio Only vs Video
Once you’ve got some guests booked and your equipment is set up in the right space, you then need to decide whether you want to record audio only, or audio and video. The required software and processes will be different depending on the option you choose.
If you want the best possible sound quality, go with audio only. Recording video is important if you need to publish your interviews to YouTube or social media, but keep in mind the sound quality won’t be quite as good.
It’s up to you to decide what’s best for your podcast. Below we’ve outlined the best options for recording audio only as well as the best options for video too.
How to Record Podcast Audio Remotely
Here are 3 different options for recording high-quality podcast audio remotely:
1. Double Ender Recording
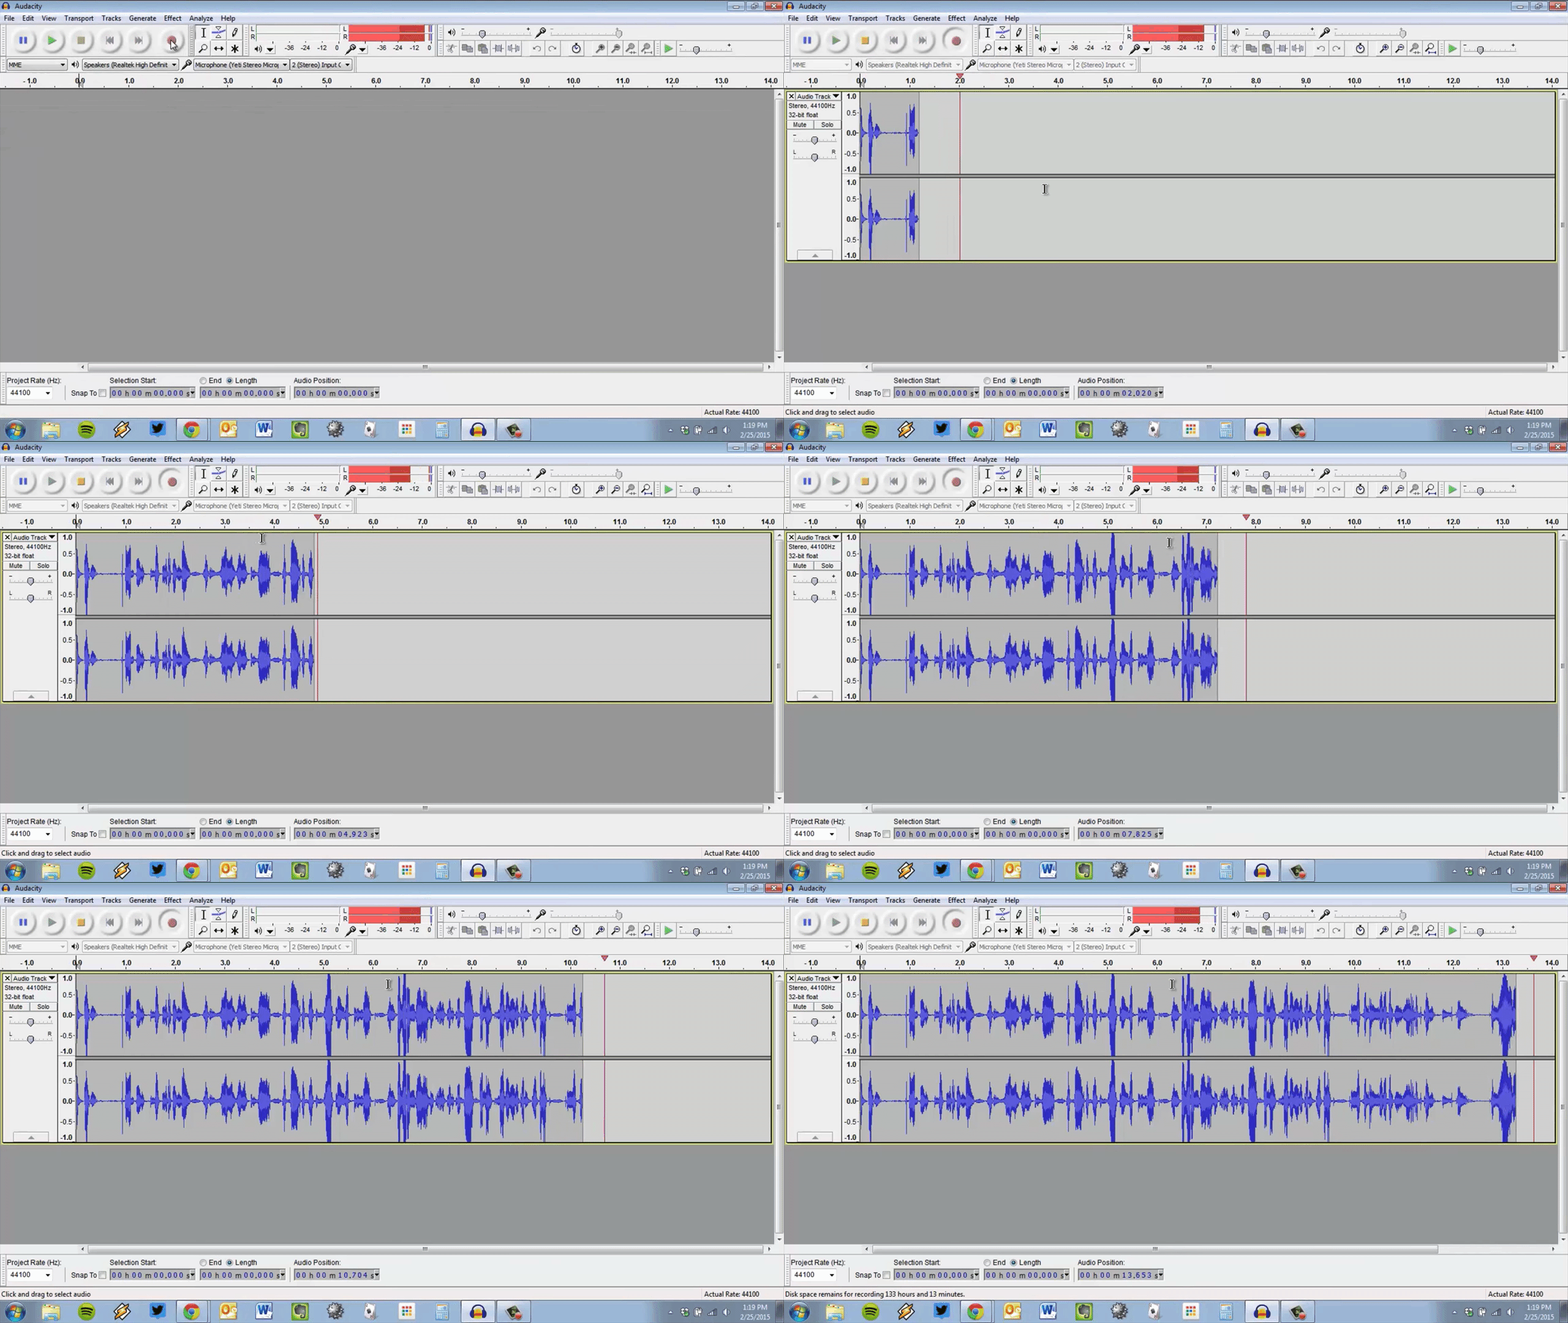
For a double ender, both you and your guest record each end of the audio locally. After the interview, your guest sends you their audio file and the two ends of the conversation are stitched together in post-production. This is the gold standard in terms of audio quality.
You’ll need some recording software like Audacity or Adobe Audition and a platform to connect with your guest like Google Hangouts or Whereby. By recording locally rather than over the internet, it prevents audio compression and stops connectivity issues affecting your interview.
But there are some significant downsides. Firstly, your guest needs to have a local recording setup on their end to capture their side of the conversation. And if they haven’t done many interviews before, they probably won't know what to do. Double enders are only appropriate when interviewing experienced, tech-savvy guests.
Secondly, this method is labour intensive. The two ends of the conversation need to be stitched together, edited, and mixed. This takes time and requires some degree of audio editing skill. So if you’re just getting started with remote recording, it’s probably not the best option to go with.
2. Cleanfeed
Cleanfeed is a free internet browser application that allows you to record high-quality audio from multiple people simultaneously. It only works on Google Chrome though - so make sure you tell your guests before inviting them to the recording.
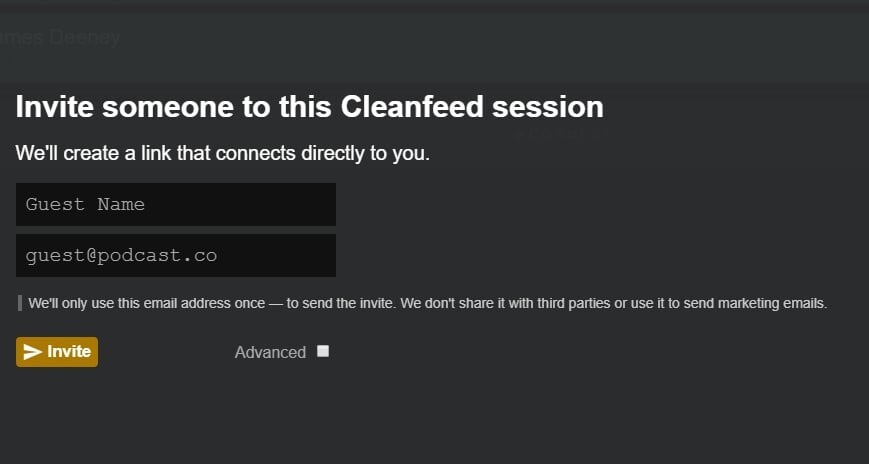
For remote recordings, simply create your account and send invites to guests to join the call. Guests will receive an email with a link that will let them join your session (again, remind them they’ll need headphones). Even on Cleanfeed’s basic free plan you can invite multiple guests to join you, making it perfect for roundtable-type podcasts.
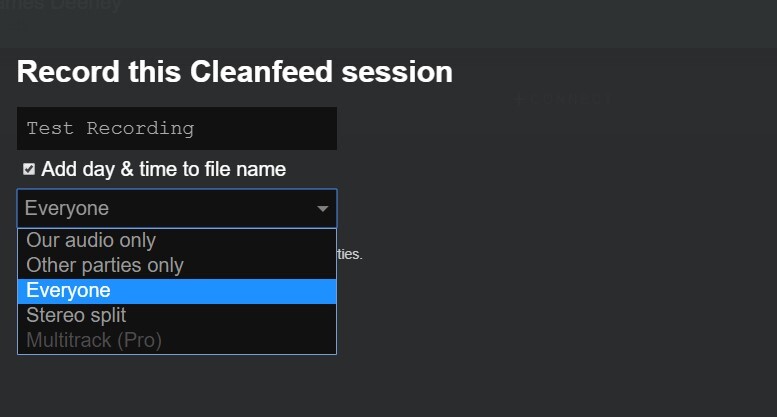
Once your guest has joined and you’re ready to start the interview, simply hit the record button on the top right. You’ll be asked to name your file and select a recording format. For simplicity, we recommend sticking with the “Everyone” option.
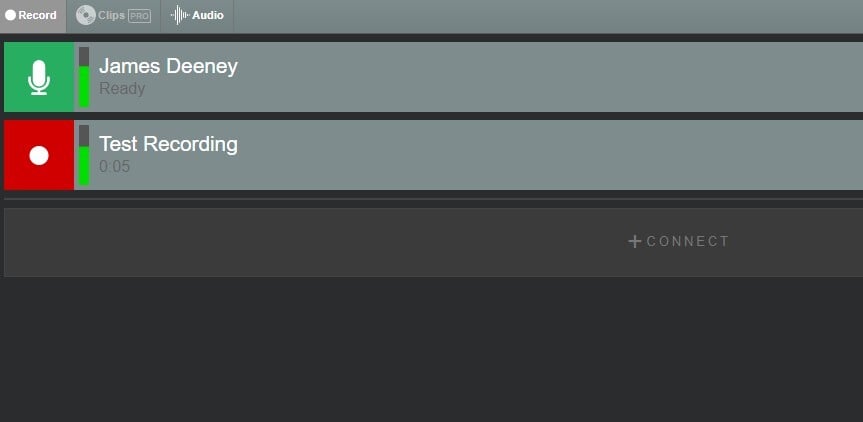
When the recording is running, you can pause and restart at any time by pressing the red record button. When you’re finished, just hit the download button on the left side of the recording bar to get your audio file.
Note: Don't close the Cleanfeed browser tab until you’ve downloaded your audio file. Doing so will cause you to lose the recording and there’s no way of restoring it.
If you want unlimited, high-quality remote recordings without having to pay, Cleanfeed is a great option. The functionality is basic but it gets the job done well. At Podcast.co we used Cleanfeed to record episodes of Season 1 of Meet The Podcasters. So you can check out the episode below to hear the sound quality for yourself:
To get all latest episodes of Meet The Podcasters, just hit the subscribe button above.
3. Alitu
Alitu have recently added a call recorder option, meaning that you can now record your interview or co-hosted show and have them cleaned up automatically, from noise reduction to levelling, once the call is finished all in one place. Thanks to Alitu's handy episode builder you can edit your recordings, add intros, outros, adverts, or transitions and then simply export the finished show.
Alitu is $32 a month or $320 a year, and includes a lot more than simple podcast recording. And with all the in-built options for automatically editing and cleaning up your audio, you can't go wrong. But we will talk more about that later.
How to Record Video Podcasts Remotely
For video, Zoom and Skype are the two most popular options on the market. But our favourite is Riverside.fm, as it offers much greater control and quality. Personal preferences aside, here are 5 options.
1. Riverside.fm
Riverside.fm offers an all-in-one solution for recording podcasts remotely. It lets you record studio-quality audio and video, with separate audio and video tracks for every guest. The fidelity of the sound on offer gives it a big advantage over video call platforms like Zoom and Skype.
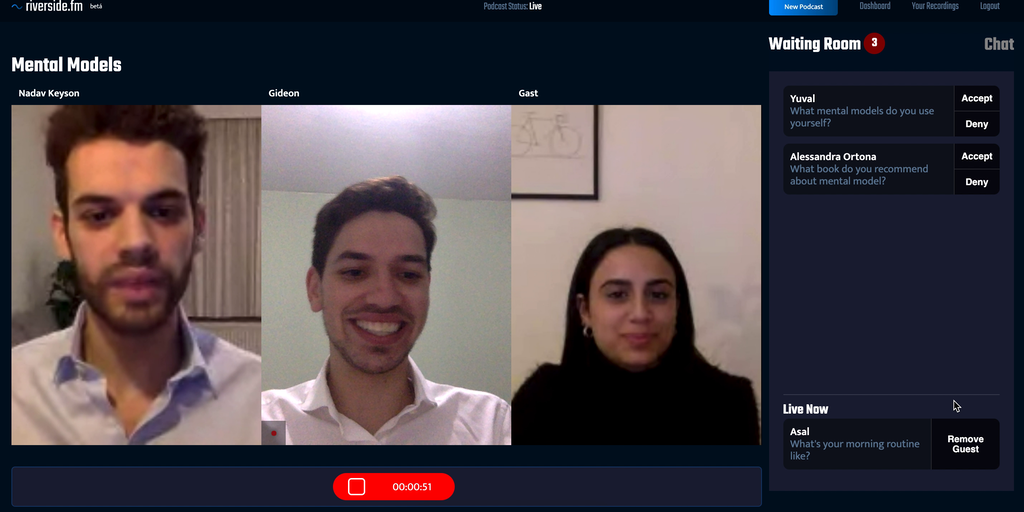
Riverside.fm also boasts lots of other unique features that really make it stand out. First, audio is recorded locally (similar to the double ender example above), meaning a poor WiFi connection won’t affect your recording quality (no more weird audio glitches and hiccups).
It also allows listeners to call in live with video to your recording sessions to ask their questions. As the host, you can engage directly with your audience and receive instant feedback and new ideas for your podcasts. Lastly, it allows you to expand your reach by live-streaming your recordings to Twitch, YouTube, and Twitter.
You can try out some of these features for yourself with a free trial account. If you’re happy, you can then subscribe and record up to 5 hours of audio and video for $19 per month, or $29 per month if you’d like the live call-ins functionality included.
We used Riverside.fm to record episodes of Season 2 of Meet the Podcasters on audio and video. So you can skim through the video below to review the quality of the recording itself (don't forget - quality is still dependent on the mics and cameras you're using)
2. Squadcast
We've recently had to move Squadcast from the audio-only section of this article to the audio & video section - as they've now rolled out their long-awaited video functionality. And it's been a hit in the podcasting community.
Squadcast always allowed you to video conference with guests while recording. It just didn't let you record and download the videos after you'd finished. So understandably that was a bit frustrating. But with the addition of this new functionality, it's now a close rival of Riverside.fm.
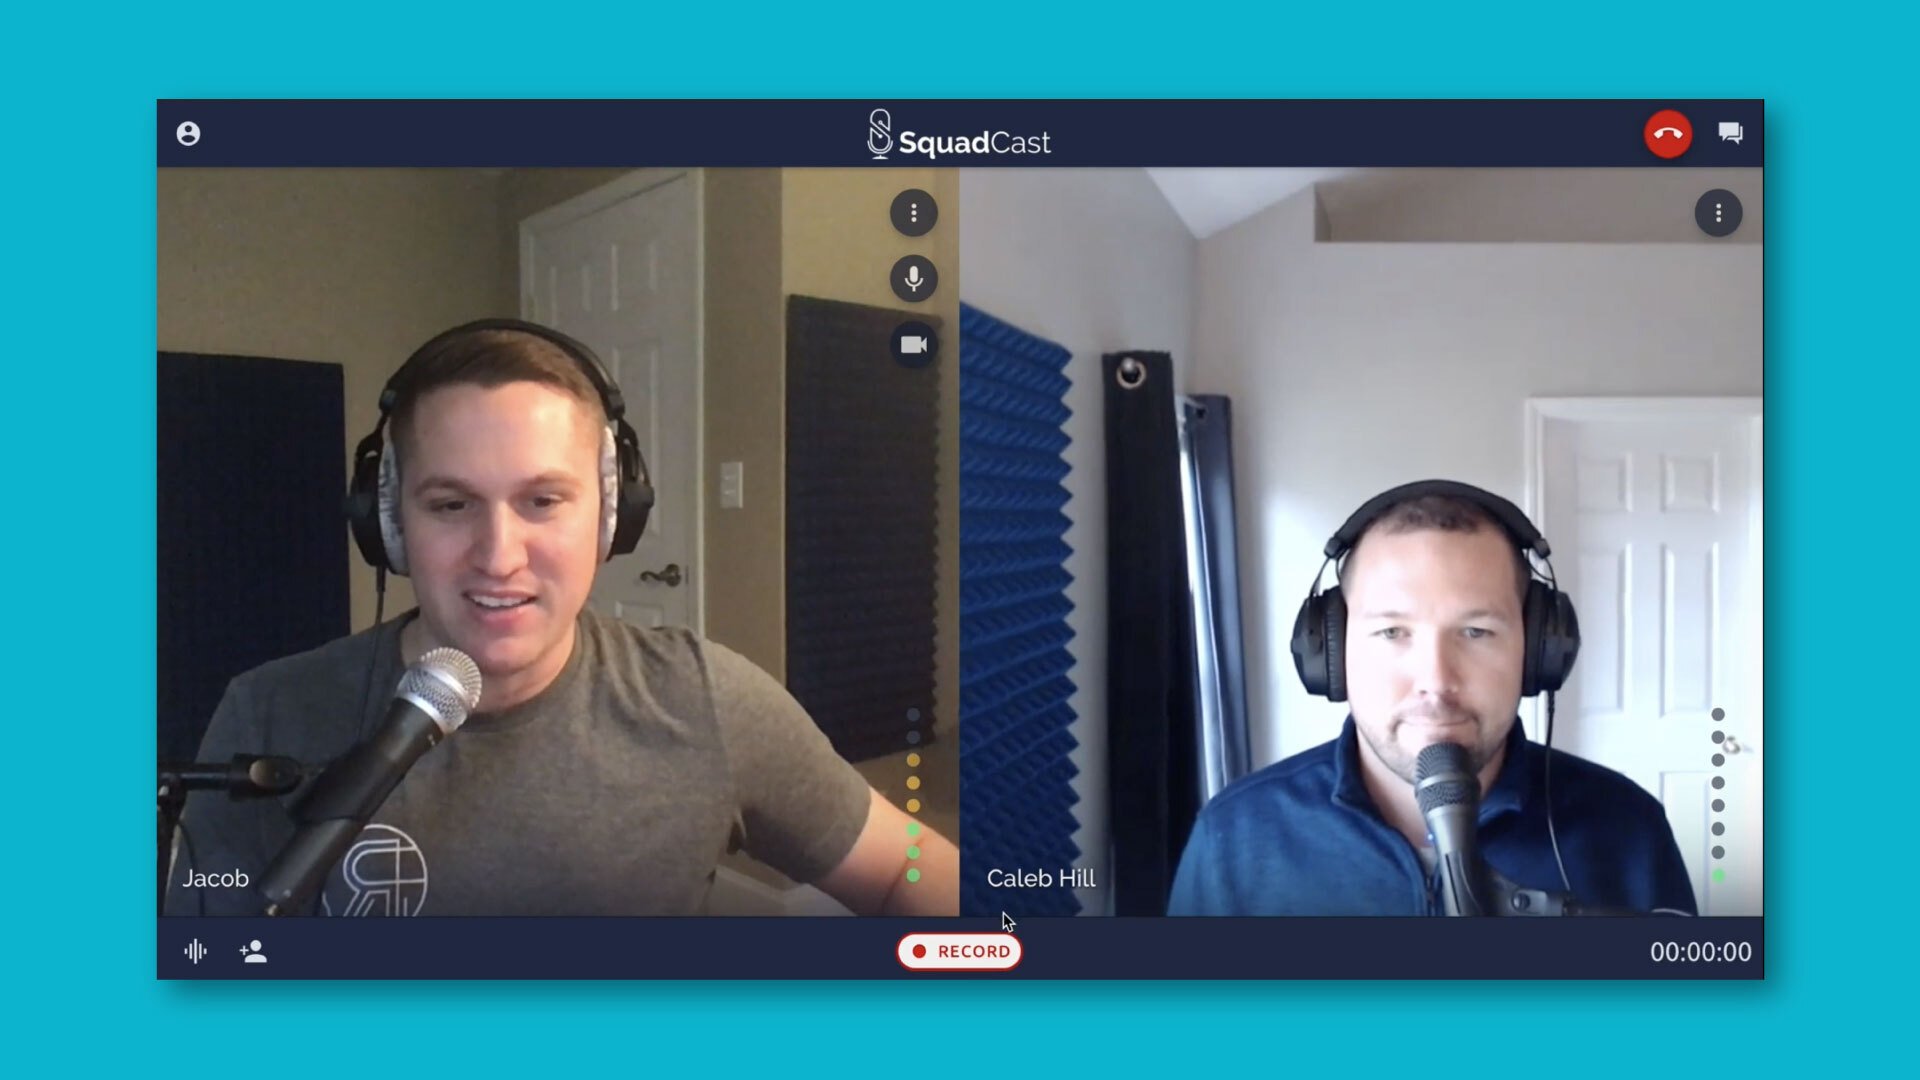
Once you join a session, you’ll see each person’s video (if they have it turned on), details about their time zone, and the strength of their WiFi connection. When you start recording, Squadcast “progressively uploads” each person’s audio and video files to a cloud server. So if one person’s internet connection goes down, you won’t lose the recording.
Once you’ve finished the interview, you can download both audio files and drop them straight into your favourite editing software. Squadcast offers a free trial on all plans, so you can see if it meets your needs. After that, you can upgrade to a paid plan. The audio-only packages start at $20 per month, and the audio & video packages start at $40 per month.
3. Zencastr
Zencastr has been a long-standing go-to platform for recording podcasts remotely. It’s similar to Squadcast, and its basic plan is free to use.
Note: To use Zencastr, you need an account on DropBox. If you don’t have it already, you can set one up for free.
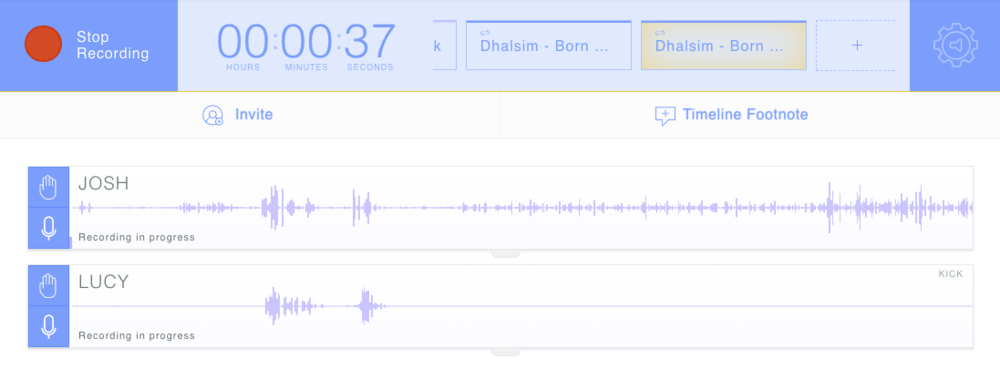
To get started, you simply create a new episode and send your guests the link to join in. You’ll even get access to a soundboard so you can upload sound clips you might want to play during your interview.
After you’ve recorded your interview, Zencastr will send an MP3 and WAV version of each person's recordings to the DropBox account you signed up with. As mentioned above, Zencastr has a free-to-use plan, or you can upgrade for extra features starting from $20 per month.
4. Zoom
Zoom’s main selling point is that it’s really easy to use. Your guest doesn't need to have their own account, or download any software. All they need is a link, which you'll be given when you sign up. Clicking the link will take your guest straight to the call with you, all inside their browser.
And it’s not just guests who benefit. Thanks to in-built recording functionality, Zoom is perfect for remote podcast interviews. All you need to do is click the record button on the toolbar at the bottom of the screen. Once you’re finished, click the stop button.
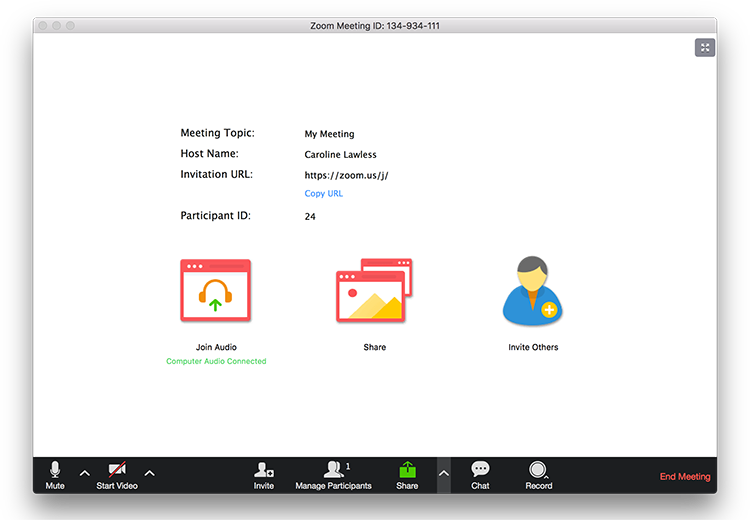
To download your audio and video files, just click “End Meeting”. For each interview you record you’ll get two different file types:
- M4A Audio File - can be dropped straight into your audio editor.
- MP4 Video File - can be edited and uploaded to YouTube or social media.
Again, the sound quality won’t be perfect. But it'll be good enough for the vast majority of podcasts out there. And the connection generally tends to be more reliable than Skype.
Zoom is free to use, but the basic plan is limited to 40 minutes of recording time (for meetings with three or more participants). So, if you’re planning to record longer episodes with multiple guests, it’s worth upgrading for $15 a month to get unlimited length calls.
5. Skype
Skype is one of the most popular video conferencing platforms - and they’ve recently rolled out a new feature that lets you record calls. Prior to this update, you needed to install third-party software to record on Skype.
Like with Zoom, the new process is really simple. Connect with your guest like you normally would. Once they’re joined and you’re ready to start the interview, click the “+” symbol in the bottom-right of the call window.
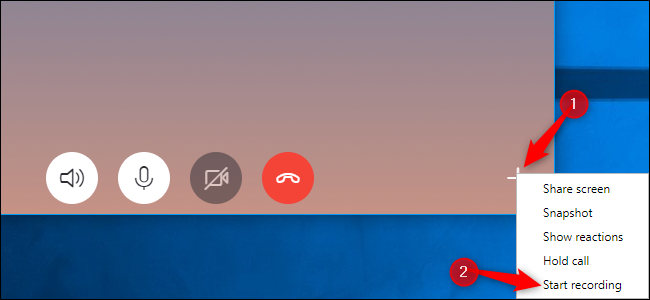
This will open a short dropdown menu, click “Start Recording”. When you do, your guest will be notified that the call is being recorded. You can stop recording before the call ends, or simply end the call and the recording will stop with it.
The recording will then appear in the text chat section of the call window, and you can download it as an Mp4 video file. No audio file is provided, but you can easily convert the MP4 to MP3.
The main downside of Skype is its reliability. It’s not uncommon for the connection to drop out briefly, or for the audio and video quality to get very fuzzy at times. So, unless you or your guest have a strong preference for Skype, we’d advise going with Zoom instead.
Editing Your Recorded Audio
Once you’ve recorded your remote interviews, you’ll need to do a bit of editing before publishing. You might want to add an intro and outro, some music, or cut out parts of the interview to shorten the episode length.
You can do all this for free using Audacity - and we’ve created a guide showing you how to do it. But if you don’t have much audio editing experience, it can be quite a steep learning curve. And even if you’re familiar with Audacity, it’s still quite a labour intensive process.
Fortunately, there are now several tools that automate podcast editing. They aren’t free, but they more than pay for themselves when you add up the amount of time they save - your episodes will be ready in minutes, not hours. Below are our top 2 recommendations.
1. Alitu
With a simple and easy-to-use interface, Alitu makes podcast editing a breeze. Simply drag and drop your recordings into the correct slots, add your music, fade it out at the right time, and you’re done.
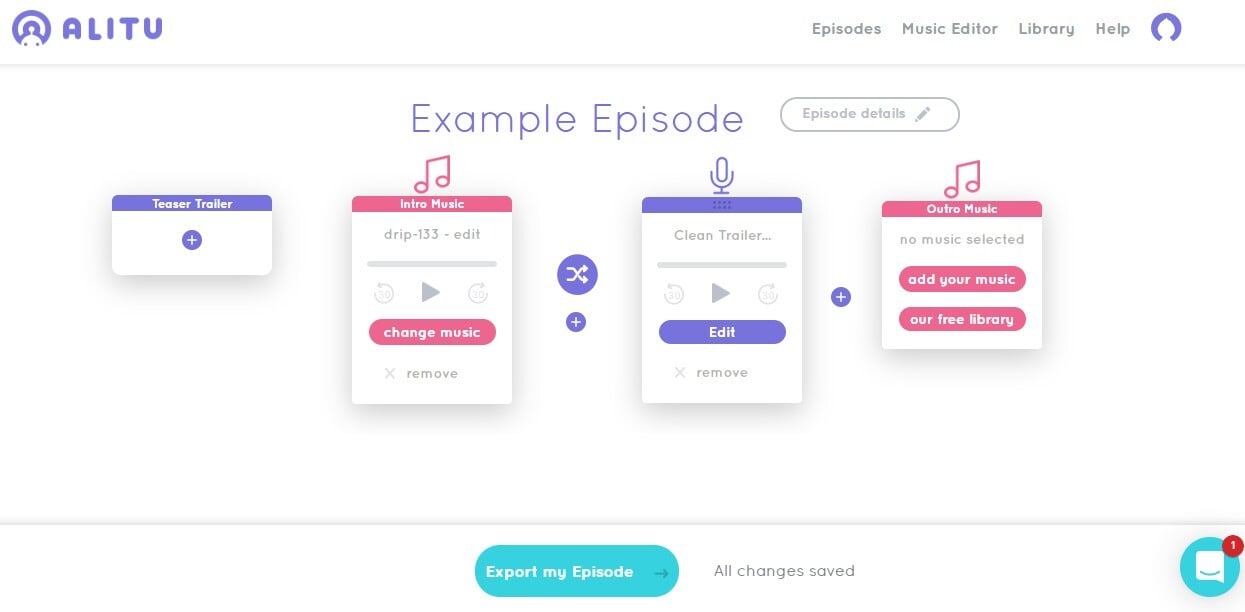
Alitu integrates with Podcast.co, so once your episode is ready to go, you can publish it straight to all the podcast directories with a single click. You can test drive Alitu with a 7-day free trial, and a standard subscription costs $32 per month.
2. Descript
Descript uses the power of AI to enhance the podcast editing process. Notably, it gives you the ability to easily edit an audio file as if you were editing a word document.
Descript turns your audio into text, broken up by who’s speaking, and it then lets you manipulate those audio files as if you were editing a text version of the script in a word processor. Delete a sentence or two, and Descript will automatically shorten the file to make the recording sound smooth and natural.
Descript won’t build and publish your episodes for you like Alitu, but if you need to do fine-tuned editing, it gives a greater degree of control and flexibility. You can try out Descript's editing features for free with up to 3 hours of transcribed speech. A standard subscription costs $15 per month.
Editing Your Recorded Video
If you’ve used Skype or Zoom to record your interviews, you’ll need some video editing software to get your episodes ready for publishing on YouTube. Of course, there’s nothing to stop you from uploading the raw file. But if you do need to make some adjustments, we recommend going with Adobe Premiere Pro.
It’s basically photoshop for videos, so it will take a bit of getting used to at first. But it’s the most popular video editor for a reason. You’ll be able to create full length videos, and create shorter videos for promoting your episodes on social media. Check out the guide below to learn the basics:
Learn How to Use Adobe Premiere Pro in 15 Minutes
You can trial Premiere Pro free for 7 days, and a standard subscription costs $19 per month.
Conclusion
There you have it - the best ways to record podcasts remotely. Every show is different, so it’s up to you to decide which method will suit you best.
Remember, if all this seems a bit too technical, we can provide hands-on support. We know editing and post-production can eat up a lot of time. So we offer an editing service that will help you stay on schedule and get your episodes published faster.
Whether you need audio or video editing, our team of experts are here to help. Let us know what needs to be done and we’ll handle it. Every reverb, pop, and hiss will vanish leaving your interview crystal clear. Check out our full range of services for more detail.
For our full, comprehensive guide on how to start a podcast, click here.


