All podcast developers, sound engineers, and radio producers know that pops and plosive sounds can be the downfall of any recording. Thankfully we’re going to give you some handy tips on how to stop pops and plosives and improve your recordings in 5 simple yet effective steps.
First of all, it is probably a good place to start by identifying what plosives actually are. Plosives are hard consonant sounds such as the letter P, T, C, K, B, J etc. These letters when spoken usually create wind noise and harsh bass frequencies that can cause your recording to pop or click. These sounds can ruin your recording and reduce the quality of your output.
1. Using the Right Microphone
There are many different types of microphone, each of which lend themselves nicely to different styles of recording. It is important to consider where, who and what you are recording when choosing which microphone to use.
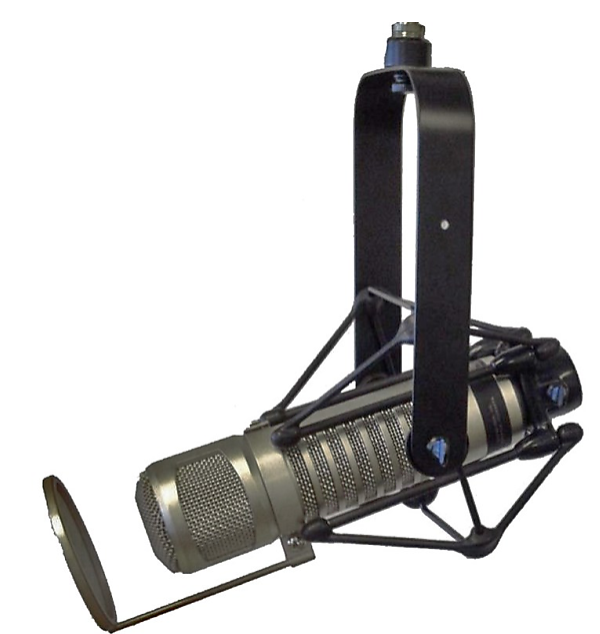
Most people record podcasts indoors in a podcasting studio that has been specifically designed with recording in mind. Most podcasting studios use large diaphragm, dynamic mics with an inbuilt windshield. Due to the microphones having a large diaphragm they pick up plosive sounds rather easily and therefore always require external wind protection. Despite their sensitivity, dynamic microphones are usually the best microphone to use in a studio environment due to the fact there’s unlikely to be other sounds affecting the recording. A few examples of good dynamic microphones are the Electrovoice Re-20 or Shure SM7B.
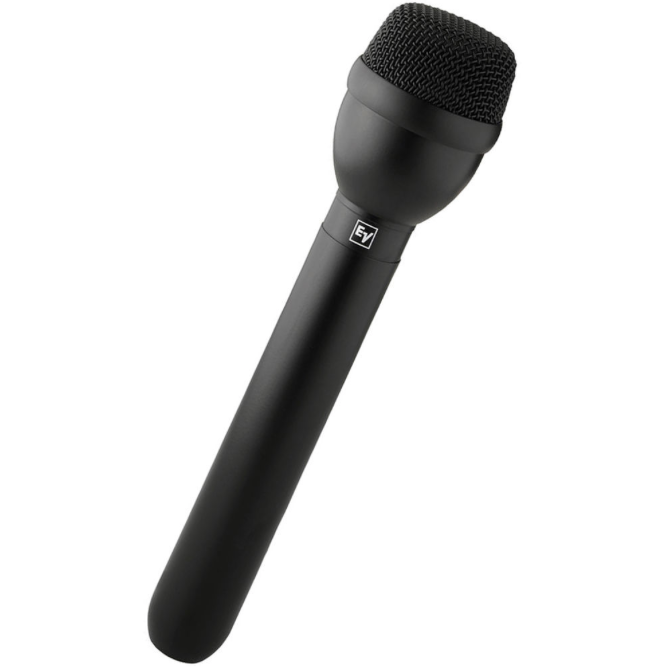
If you’re recording outdoors or you’re recording an interview the perfect microphone to use is an omnidirectional microphone. It is also good to get a microphone with a metal mesh on the top. The pickup pattern combined with the headbasket will help to reduce plosive sounds better than any other microphone. It is not advised to use omnidirectional microphones for recording narration or capturing ambient sounds due to the fact the sound tends to lack warmth which isn’t a problem for capturing general chat but for other things you may want to use a different microphone. Good examples of these styles of microphone are the Electrovoice RE-50 or the Sennheiser MD 42.
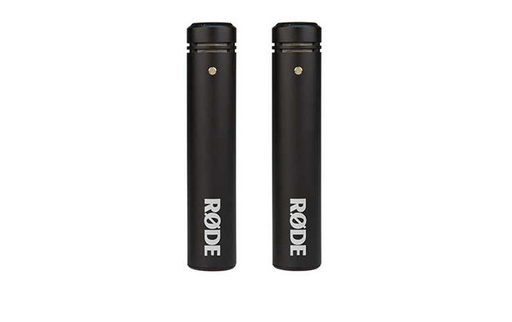
Often for your podcast you may find you need to record ambient sounds to decorate or enhance your piece. It is a good idea to use cardioid microphones as the pick ups can capture most of the sound and also add a warmth and depth to your recording. Plosive sounds aren’t usually a major issue during ambient recordings but things like wind noise, rumbles etc. can still be picked up so it is often best to use a windshield when recording ambient noises. Some examples of cardioid microphones that will stop pops and plosives are the Shure SM58 or the RODE M5.
2. Getting the Most Out of Your Microphone
Now you know which microphone to use it’s time to tell you how to get the most out of it. There are functions on the microphone and processors that you can use to reduce plosive sounds.
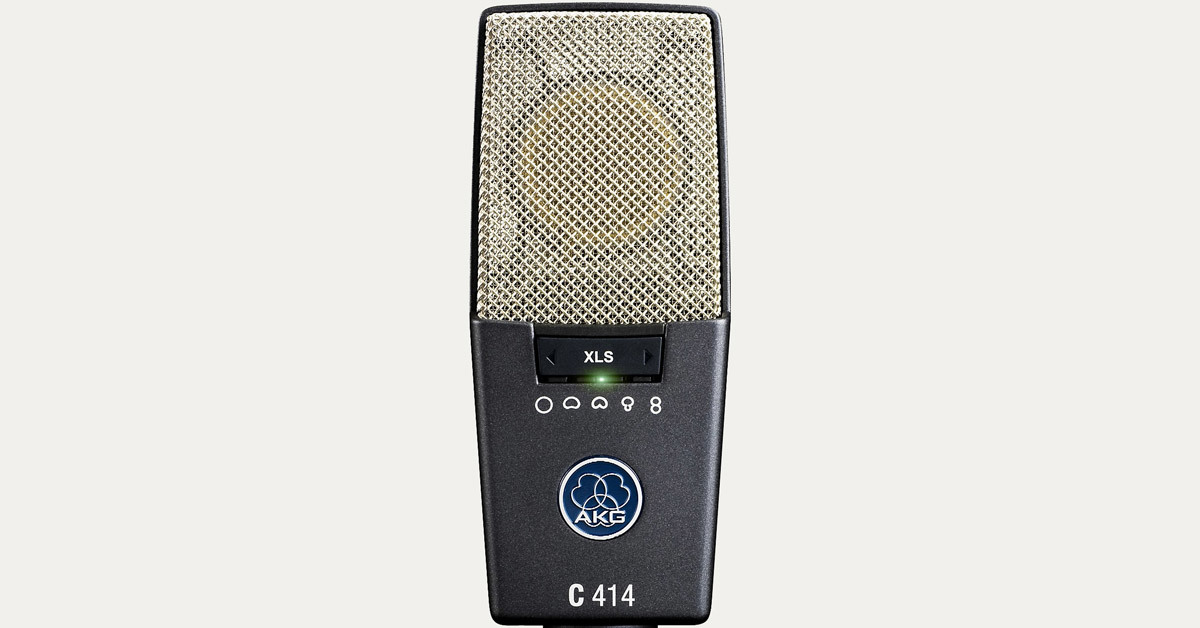
Most microphones have a switch that can change the sensitivity or the pick up patterns of the microphone. Switching the microphone to a lower sensitivity or changing the pick up pattern to omnidirectional can stop pops and plosives. Some microphones have a bass roll-off feature that can be switched on or off. This will change the setting of the microphone so that it ignores bass frequencies. It won’t eradicate plosives but it will certainly reduce their severity.

When recording in a studio you can use an equalizer on the microphones. Some people like to EQ later in post-production but it’s often easier to record the voice with the EQ on so there’s less to do afterwards. It also helps make the initial recording good quality so that you only have to do a bit of tidying up when editing afterwards. EQ can help to eradicate bassy frequencies so that plosive sounds are less recognisable.
3. Wind Shields, Pop Shields, and Force Fields
I was joking about the last one (or was I?), but wind shields are an important and effective way of reducing plosive sounds in your recording. They can reduce wind noise and other harsh sounds quite significantly. They’re especially important when recording outside, recording people inexperienced behind the microphone and recording interviews.
Interviewees and guests who may not have much experience on mic tend to not realise that the sounds they make, their volume and distance from the microphone can have an adverse effect on the recording therefore it is recommended to put everything into place initially so that their recording sounds good.
Windshields come in all shapes, sizes, colours and materials. Whichever microphone you have there will be a windshield that will fit it. Windshields help to stop pos and plosives by putting a layer between the voice and the microphone which stops wind sounds and bass frequencies getting through. It is important to choose the correct windshield for the microphone you are using, it is also important to consider what you are recording as well when choosing your windshield.
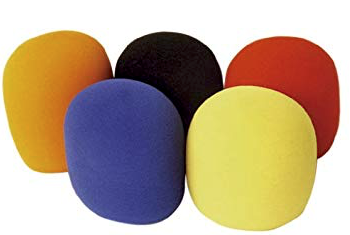
When recording voices especially in a studio or during an interview it is often best to use a small foam windshield to fit over your condenser microphone or reporter mic. These tend to be the most common microphone coverings in studios so they won’t be distracting for the people talking but are also effective enough to dampen plosive sounds. Foam windshields come in every colour of the rainbow and can be customised to feature your podcasts logo.
Good quality foam windshields include the Sennheiser PS 01, Rycote 104406 and the Rode WS4.
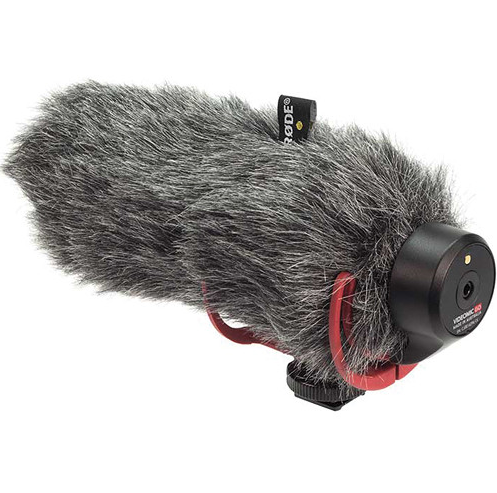
When recording outdoors especially when recording ambient noises or in an area where there is a lot of wind or traffic, it is recommended to use a fluffy microphone cover also affectionately termed a deadcat (or a deadwallaby if you’re from down under). The fluffy design of the cover works even more effectively at filtering out plosive sounds, pops and wind noise because they have several layers that sounds needs to filter through. These windshield covers aren’t usually used when interviewing or during normal chat because they’re quite distracting. It is still encouraged to use them when the weather or traffic situation around you is less than ideal. Examples of good quality fluffy microphone covers include the Rode Minifur-LAV, Boya BY P10 and the Micover Puffin.
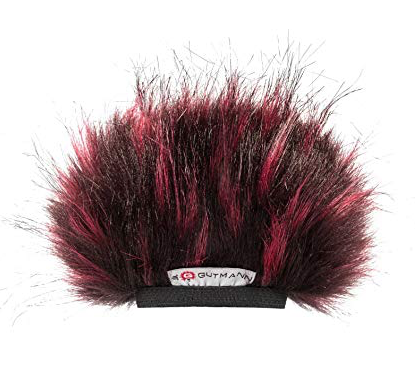
Foam and fluffy microphone covers are available for every type of microphone from small clip mics to large shotgun mics. You can even get windshields for your phone so plosives are a thing of the past. An example of a good quality fluffy phone mic windshield is the Gutmann and a good quality foam mic windshield is the Cubemic mic flag.
The last thing to talk about it is popshields. Popshields are a thin piece of mesh that go in front of the microphone. It acts as a barrier between the speaker and the microphone and reduces plosive noises quite dramatically. These can really, only be used in the studio but it’s certainly worth installing them if you don’t have them already.
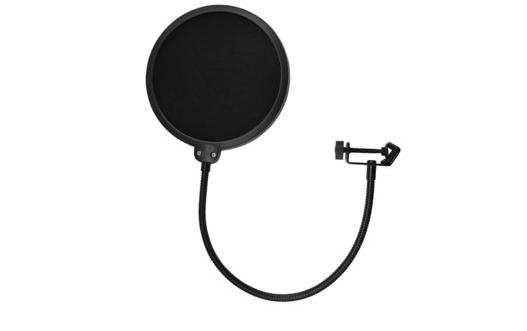
If a member of your podcasting team is especially bad when it comes to plosive noises then doubling up and having both a popshield and a windshield can really benefit the recording. It’s in fact not been uncommon for some podcasters and YouTubers to have two popshields and a windshield to really make sure the plosives don’t get through. This usually means that the person in question does a lot of shouting but it doesn’t matter because the popshields have got it covered. A few popshields to consider buying are Sontronic ST-POP, Rode popshield and the Rycote invision.
4. Improving Your Mic Technique
Now you know what microphones to use, how to get the best quality recording from them and what to cover them with it’s time to turn your attention to what you can do yourself during the recordings to stop pops and plosives.
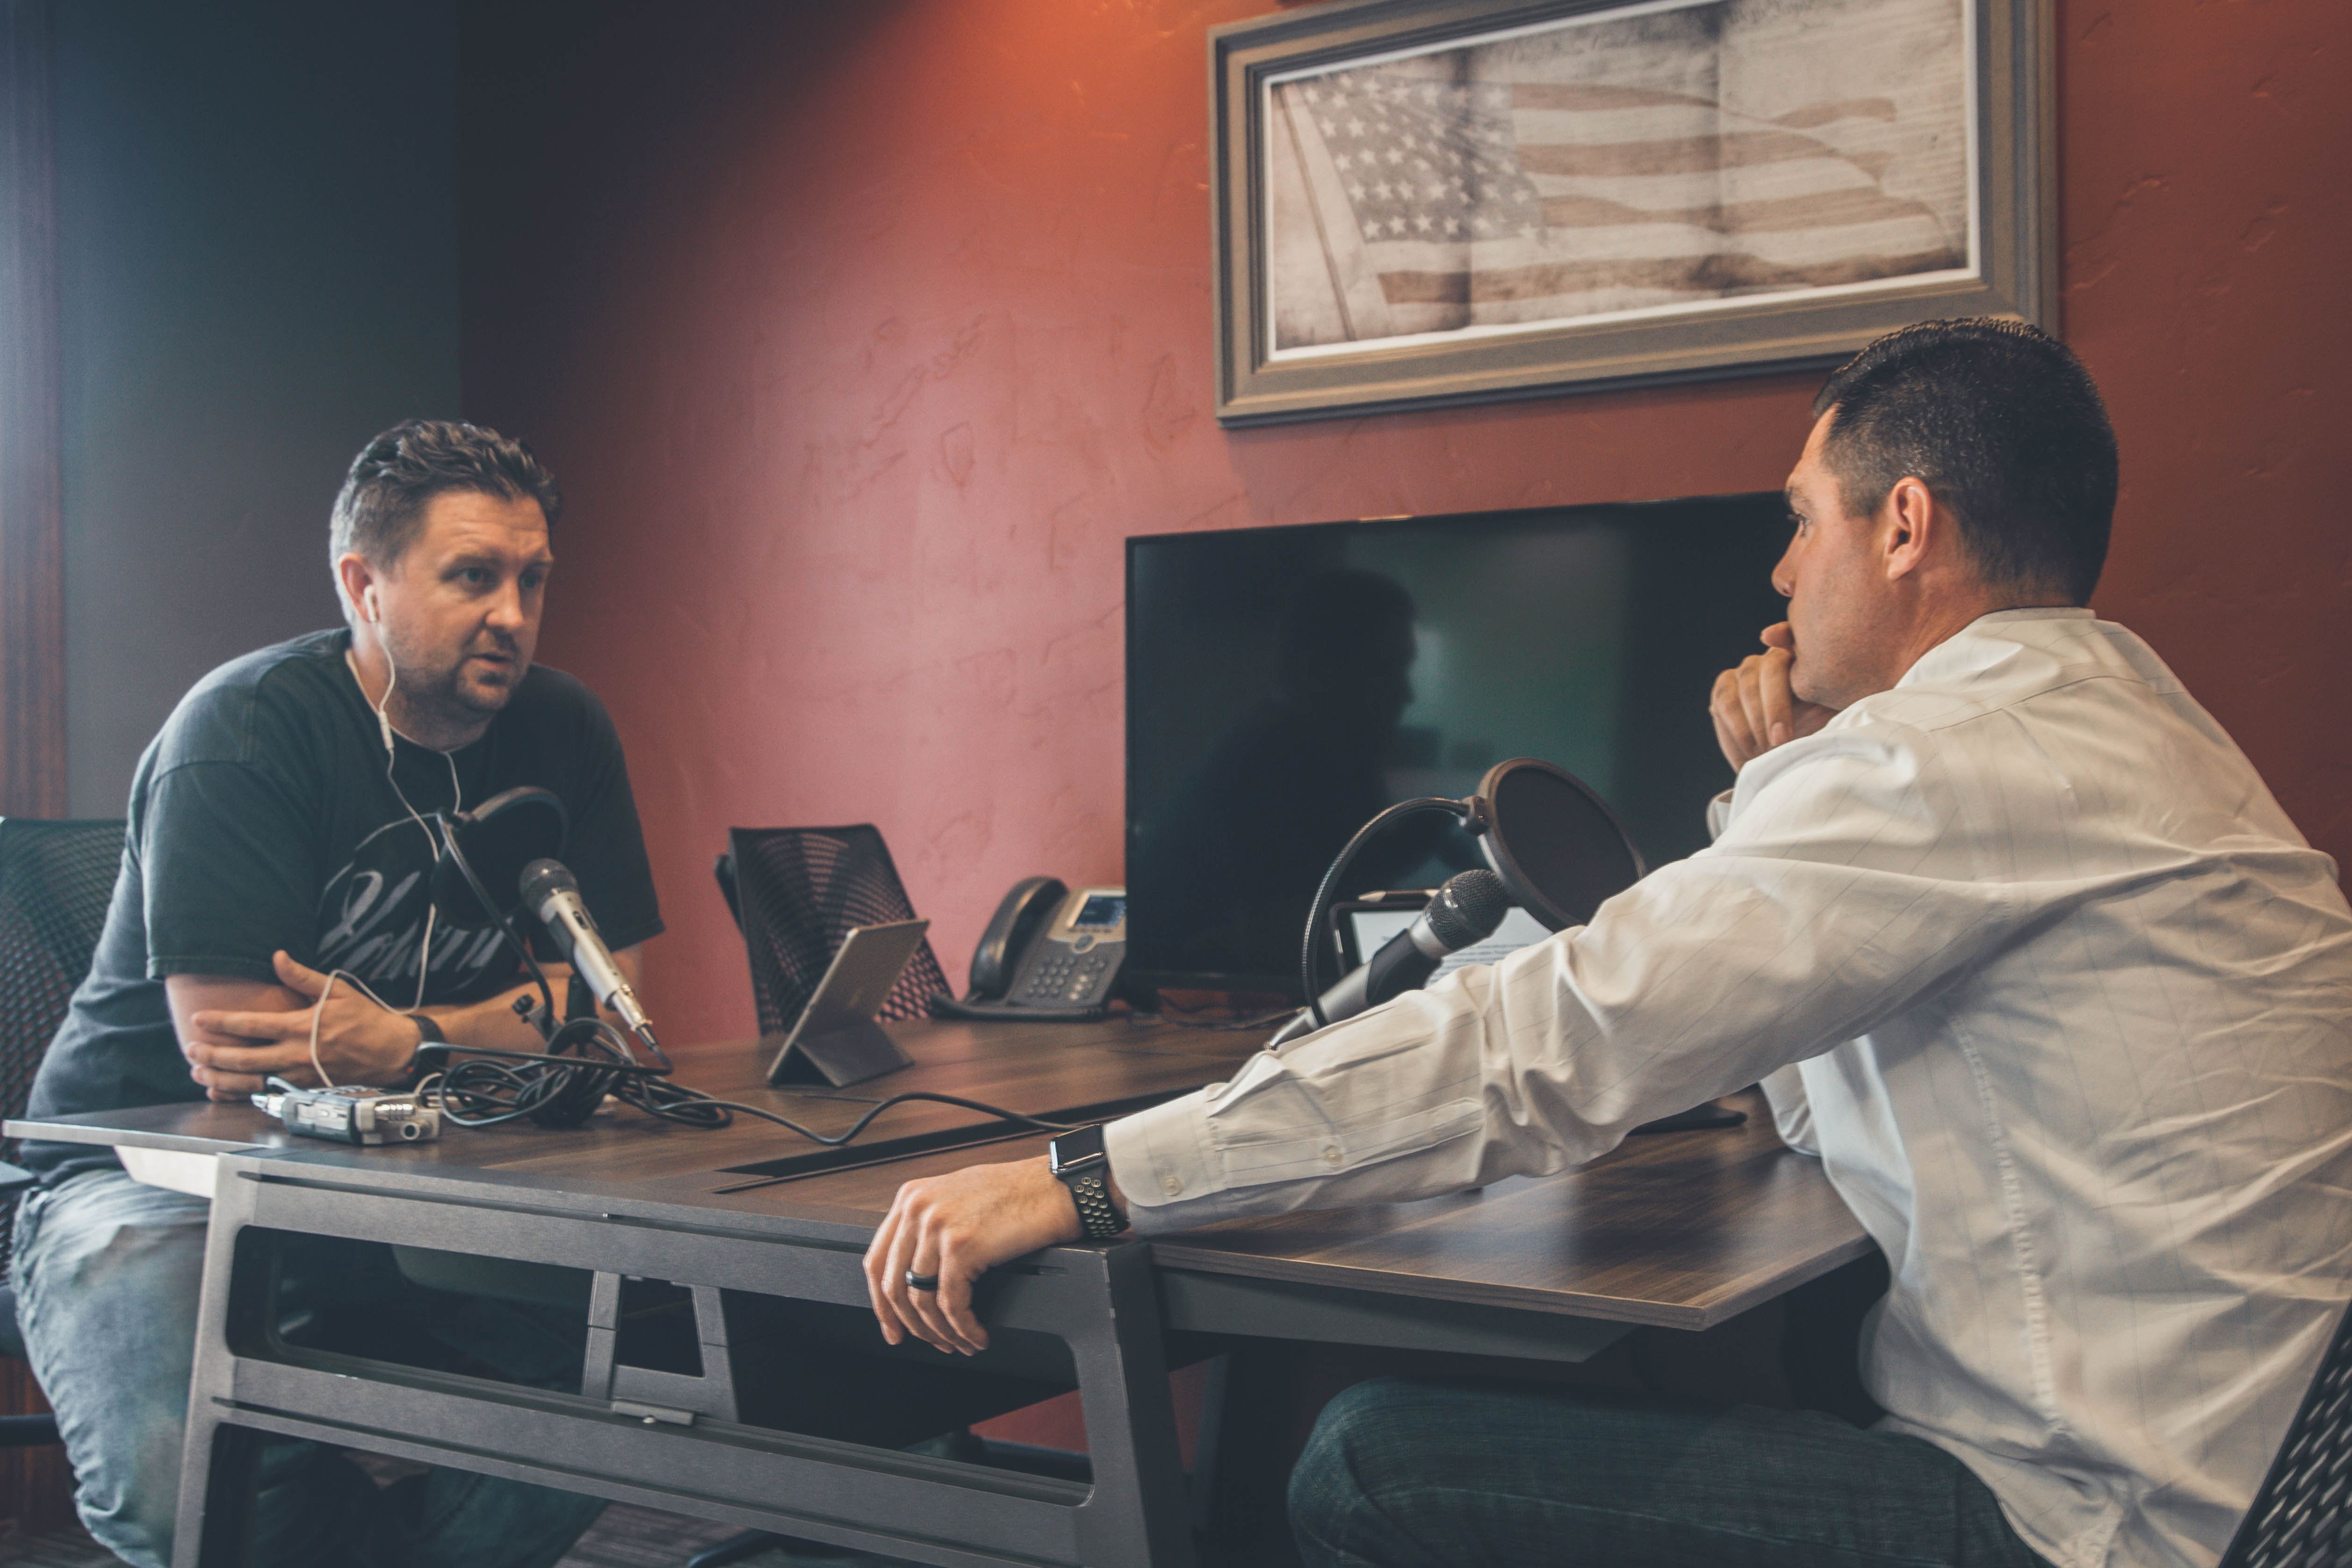
The first thing to do is make sure the microphone is in the right position. It makes sense that putting a microphone right up to your mouth will capture every plosive sound, bass noise and wind noise that you make so placing the microphone in a suitable position will help reduce this. The ideal positioning for a microphone is 7-15cm away from your mouth. This leaves enough room to filter out some of the plosive noises. It’s also an idea to have the microphone slightly above your mouth because the air you expel to get P, T, K sounds etc. is either pushed out directly in front of you or downwards. Having the microphone slightly above will therefore reduce plosive noises and popping sounds.
As a microphone user you need to be aware yourself about the potential for plosives and pops. If you know you’re going to start talking louder or you’re going to start saying the rhyme ‘Peter Piper picked a peck of pickled peppercorns’ then it might be an idea to take a step back from the microphone. This gives the air in front of you a slight chance to filter out the bassier frequencies and the harsh pop sounds you will make. It is also a good idea to think about your breathing when talking on mic.
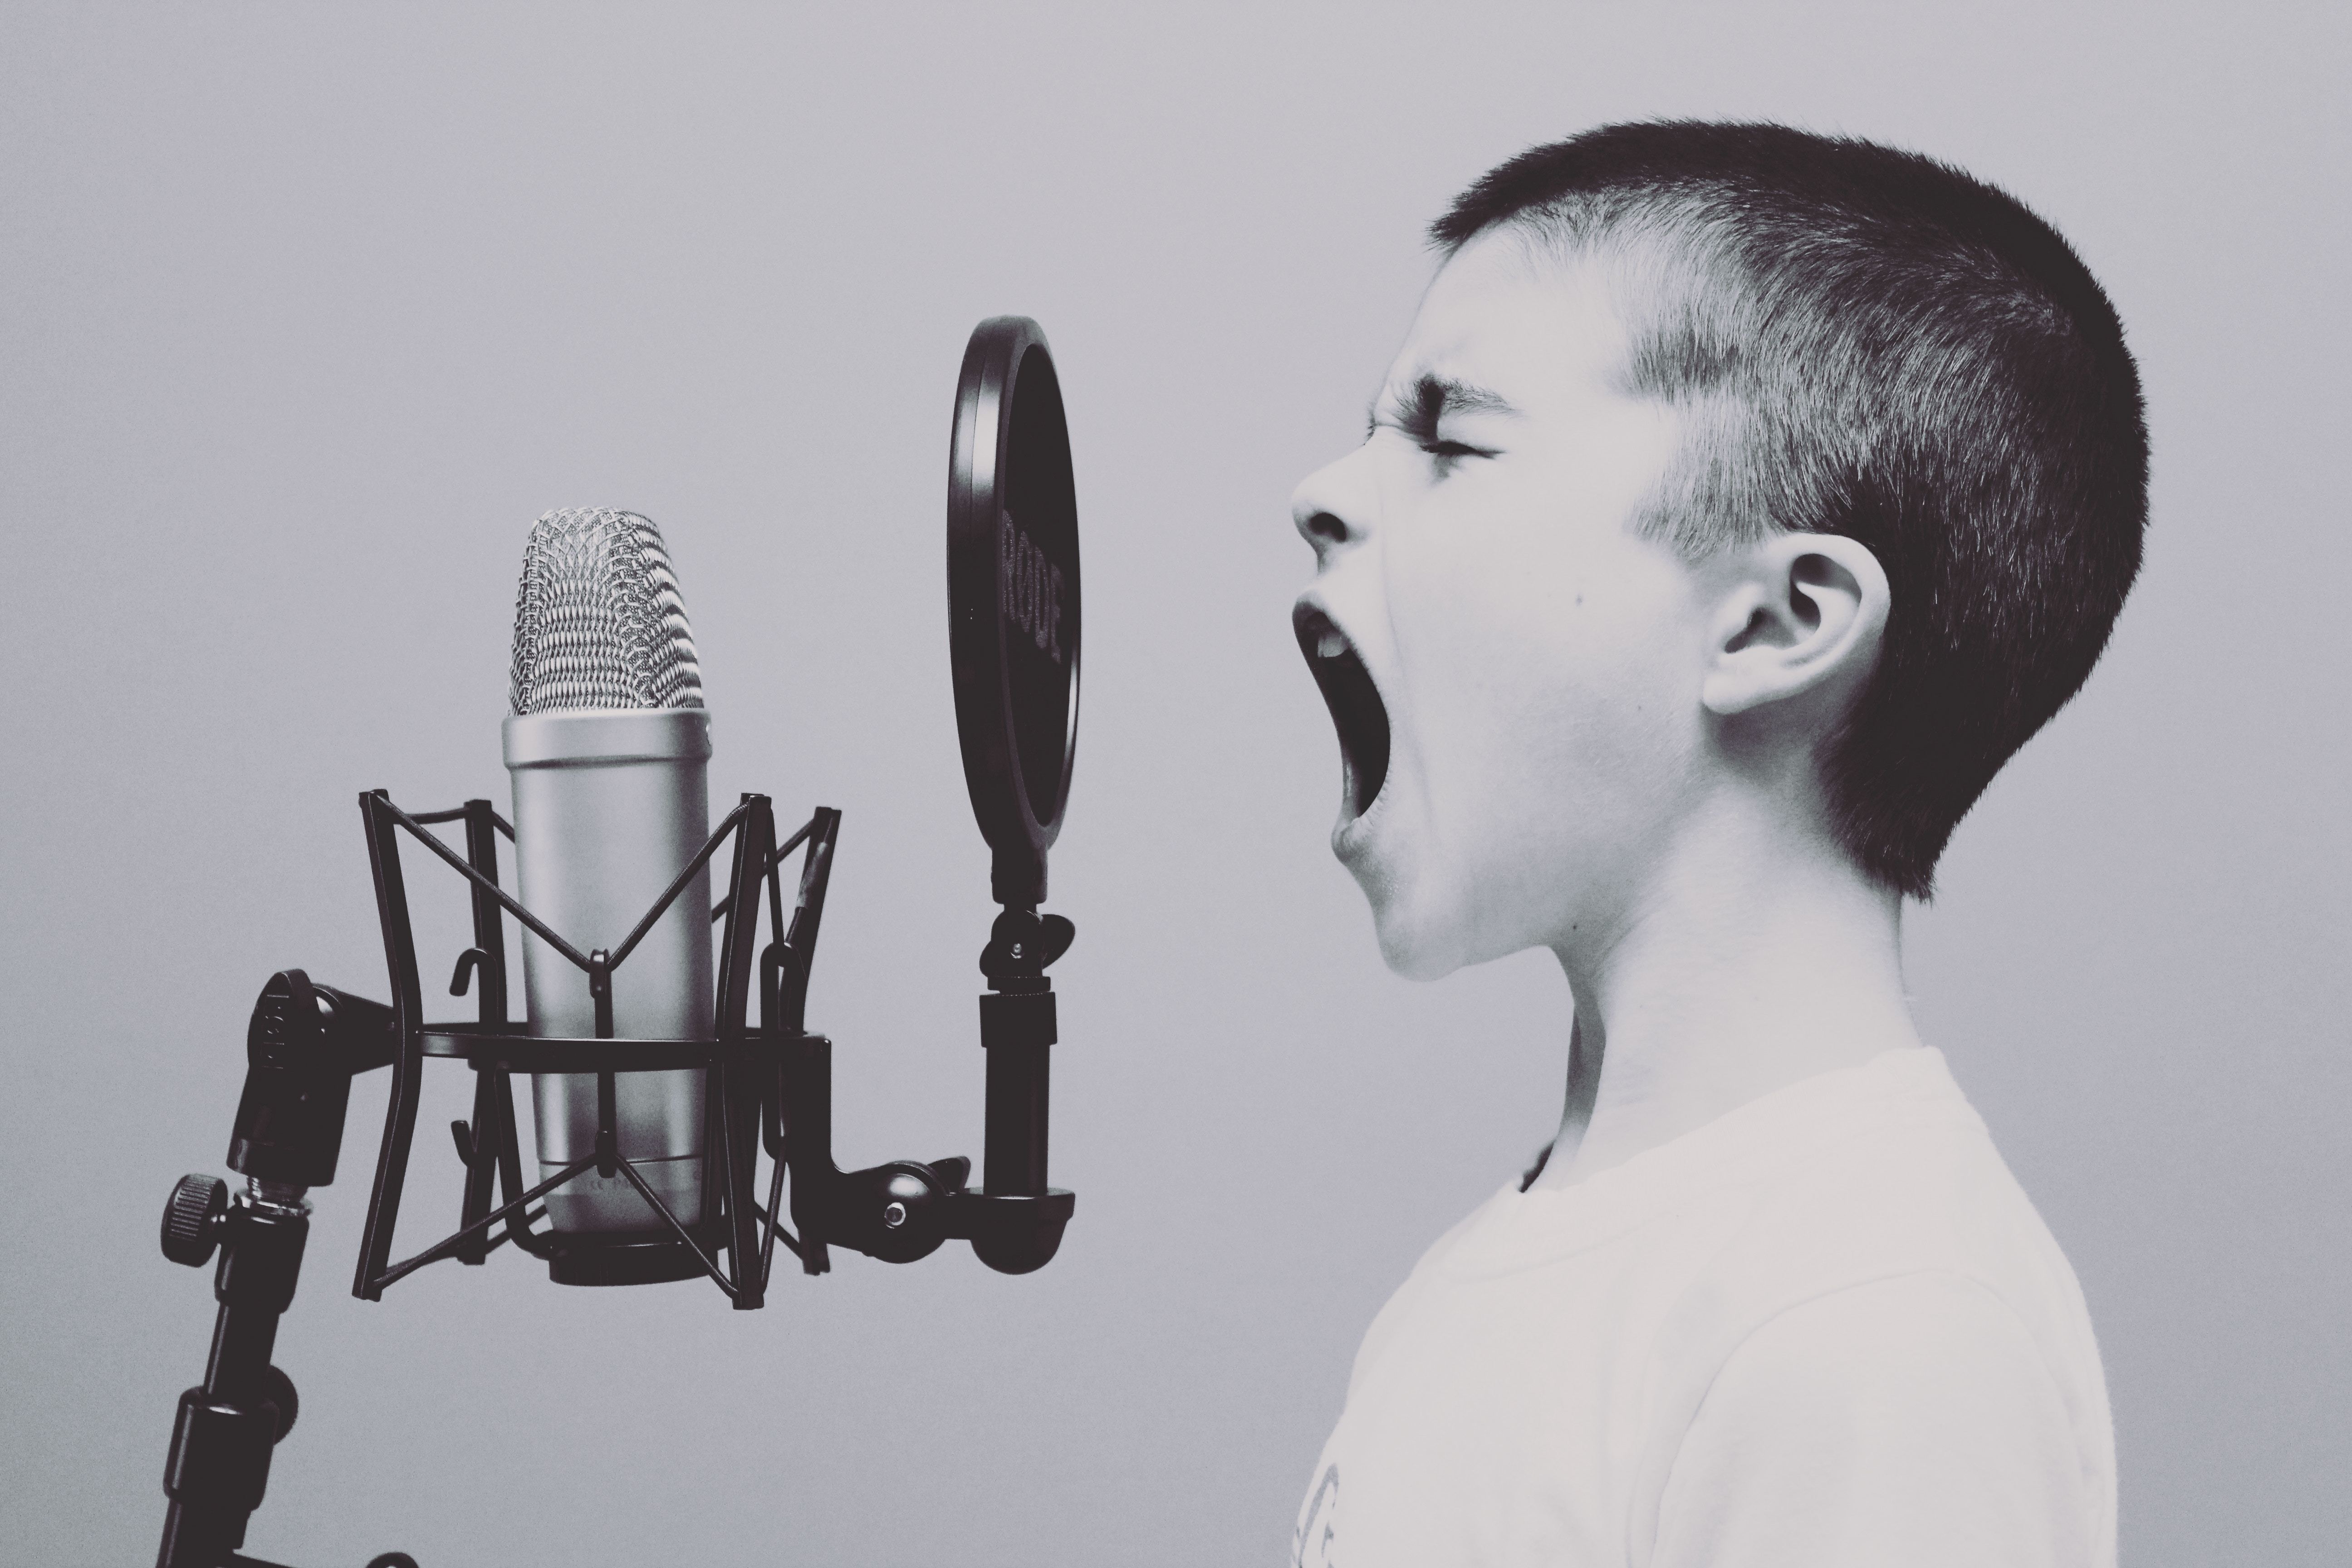
When you’re short on breath your words become more clipped and inevitably more plosive laden. Taking time to relax your breathing will increase the chance of a smoother delivery and lessen the chance of harsh plosive noises.
The last thing to be aware of is your surroundings. Now sometimes it’s not possible to choose where you record and you have to deal with the place you find yourself in but where possible try to craft your location so that it’s reasonably quiet and won’t be affected by outside noise. Places where it is very windy or there is a lot of traffic are not ideal places to record. Not only will the wind noises and traffic noises affect the recording, you will also find yourself speaking louder to talk over the noise. All of these things combined will involve a large number of plosive sounds, pops, bass frequencies and wind noise making their way into your recording.
Where possible keep an eye on your location and listen to how your surroundings sound before you begin recording, even quiet rooms may have a strange ambient hum that affects the quality of the recording.
5. Removing Mistakes in Recordings
So you’ve tried everything and plosive sounds and pops have still made their way into your recording. Never fear, there is still one final port of call before all hope is lost. You can put your recording into audio editing software and edit the offending pieces of audio.
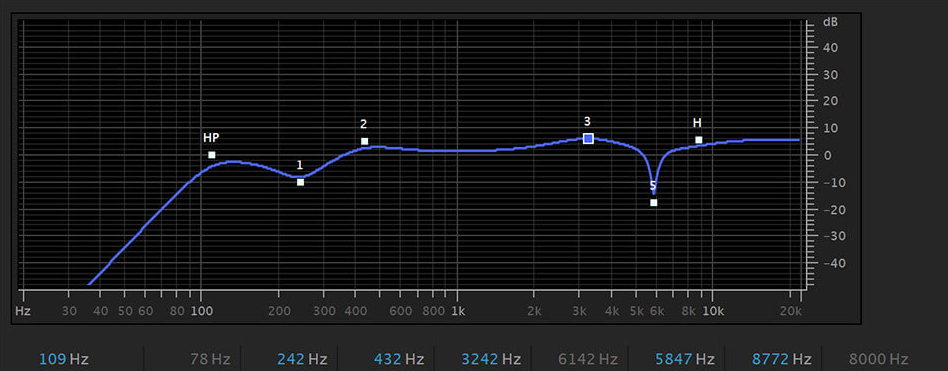
The first thing to try is using EQ. You can record straight into an equalizer in the first place and hopefully avoid this situation but it doesn’t always work out that way. If you did record into an equalizer and there’s still plosive sounds then hopefully it should only take a few minor adjustments to get rid of them. If you mess around with the bass frequencies a little bit more then hopefully they should go. If you didn’t record into an equalizer because you prefer to edit afterwards then equalizing the audio and getting rid of offending frequencies should reduce the severity of the plosive sounds. If you struggle editing then you can find presets which will do the hard work for you.

If the plosive sounds are still there after the EQ you can try to manually take them out by cutting them out. You’ll need to focus on the attack of the letter or word and then take out the wind noise afterwards. This will require good editing skills and a good ear for detail because you don’t want to lose any of the detail around the pop noise just the pop noise itself.
The final thing you can do if every other channel has failed is to use a processor on the recording. Specific software such as Izotope Audio RX are designed for the pure purpose of removing plosive sounds from your recording. Izotope is quite an expensive processing tool and is probably something you’ll only use for a last resort.
In the processor you look for the part of the audio that pops which is either represented by a peak in the blue wave form or yellow highlighter at the bottom of the spectral display that indicates there’s a large amount of energy in the bass frequencies. You highlight the area that you want the processor to change and then choose the ‘de-plosive’ option. The processor then reduces or eliminates the bass spike and leaves the rest of the audio the same.
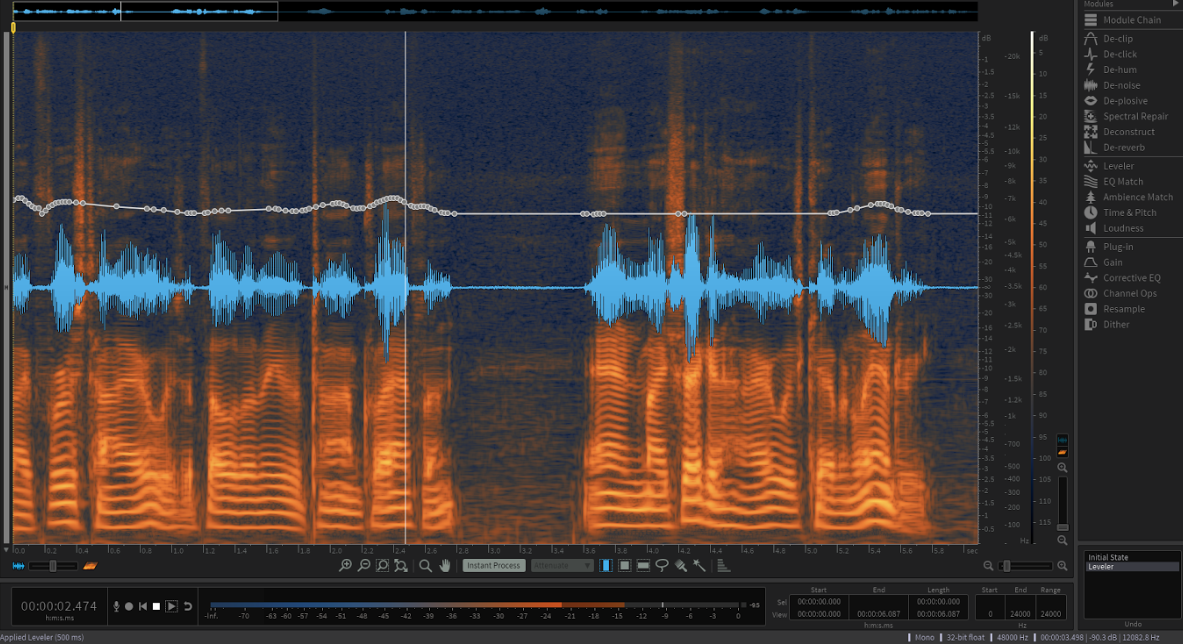
Izotope almost always manages to reduce plosive sounds however severe plosive sounds usually creates other distortion on the microphone meaning that it can’t be completely eliminated only reduced. If you desperately can’t re-record the audio then Izotope is your best option for reducing problem plosives and pop noises.
When you’ve done all of the above then pops and plosives should be a thing of the past. Prevention is certainly better than the cure so putting as many measures into place in the early stages of recording will be far more beneficial than trying to get rid of the problem later. If you want to learn more about making perfect recordings and editing like a pro then join the Podcast.co newsletter.
For our full, comprehensive guide on how to start a podcast, click here.


