Editing your podcast audio is a super important part of creating your podcast. If your podcast doesn’t sound any good, the harsh reality is your listeners won’t stick around. Improve your shows, make your podcast audio sing with these handy tips to help you improve quality and make sure listeners stick around for more episodes to come.
Start With The Basics
Microphones. I know a lot of people are concerned about forking out loads of money for good quality microphone right away, but this is actually the thing that will help you the most. A good quality mic can be the difference between sounding like you’re recording from a soundproofed booth, or sounding like your recording from inside a trash can.
And you don’t necessarily have to dish out loads of money to get a decent quality mic. We have a few options available on our blog but here’s a quick rundown of a couple of good options for anyone who wants to up their microphone game:
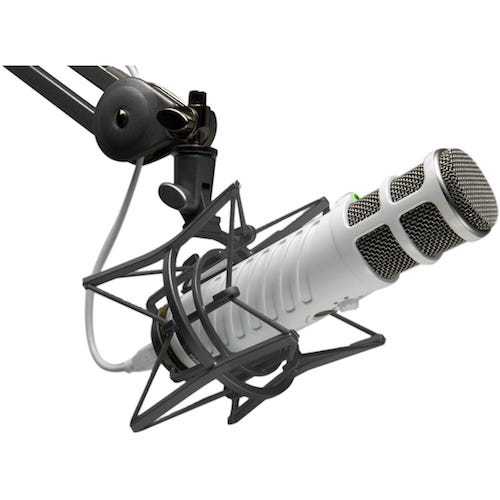
Rode Podcaster
Literally built for podcasters, the Rode is one of the best mics in the podcasting game and won’t break the bank either! Definitely one to consider, especially as Rode mics are known to be built to last, and have a fantastic reputation amongst those in the audio world.
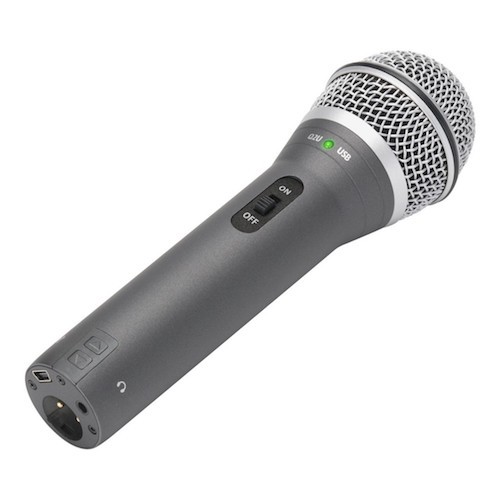
Samson Q2U
Good quality audio, XLR and USB connection, and pretty low budget to boot! While the quality of this is slightly lower than the Rode Podcaster, the Q2U has a lot of perks. Especially the XLR and USB connections that means when you decide to up the game even more and invest in a mixer, you can continue using your Q2U with that setup too!
Launch a Successful Podcast
New to podcasting or looking to improve your existing podcast? The Podcast Blueprint has everything you need to start your own podcast.

Thanks for subscribing!
We've just sent you an email, please follow the instructions to confirm your details.
Eliminate Background Noise
Another pretty obvious factor, but one that is easily forgotten in the excitement of recording, is the amount of background noise you are picking up. For example, our office is in the city center next to a busy road, so when we record videos in our meeting room, we have to make sure we’re eliminating as much of that as we can.
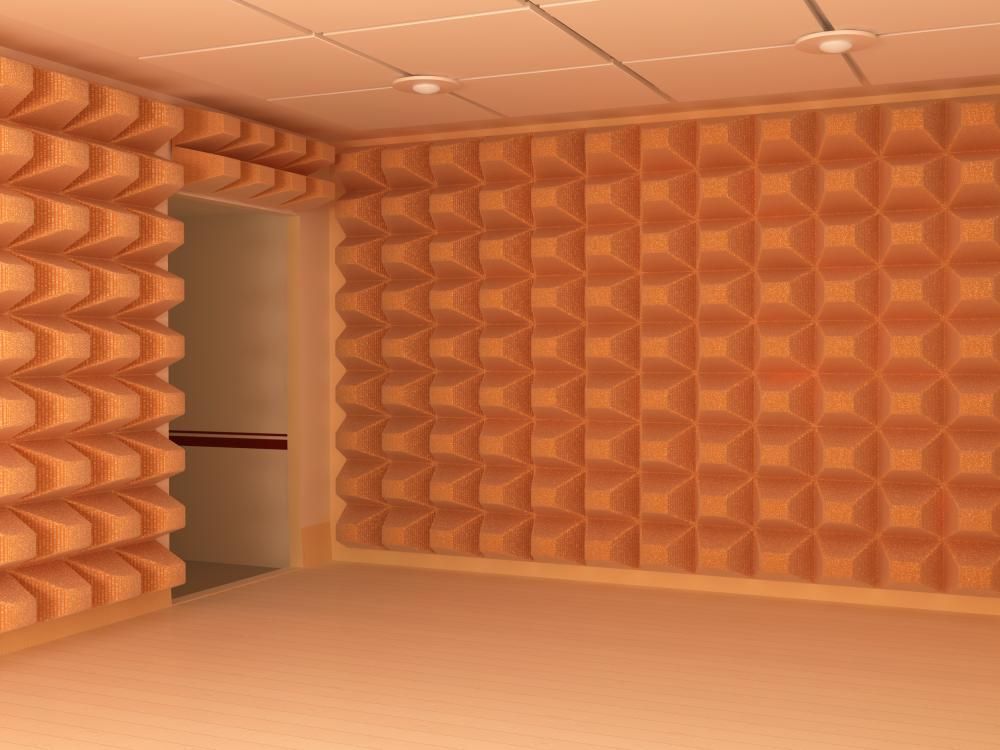
There are a few things you can do to make sure you’re reducing any background noise as much as possible. The best thing to do is to get some acoustic foam tiles and secure those to the walls of the room that you’re recording in. This will help to absorb some of that background noise and to stop your voice bouncing off the walls and echoing back in the recording.

Obviously, we realise that securing foam tiles to the walls isn’t a perfect solution for everyone, (some spouses might not be too happy with that!), so another solution is simply to hang up blankets or sheets to cover the walls instead. This creates a softer, more absorbent surface, reducing the risk of your voice echoing.
If you really want to make an effort, a lot of podcasters mention that recording in a cupboard or a closet with clothes hung up is a fantastic solution too! Bit cramped for space though, so maybe don’t invite any guests to those recordings!
Polish Everything Up
Editing is your best weapon against bad audio. There’s a lot that can be corrected using a good editing program. There are a few choices for editing programs that podcasters swear by, Adobe Audition and Audacity, just being a couple of those! For this small guide, we’ll be using Adobe Audition but you can find the features we’re going to use in a bunch of other editing software too!
Boost It Up Or Turn It Down
Volume levels are super important and this is probably the first thing you’ll be doing with your raw audio files at first. Sometimes when you record audio, the levels won’t be 100% perfect, (though it’s always a good idea to double check while you’re recording that the levels are roughly where you want them!), and this is where Gain comes in.
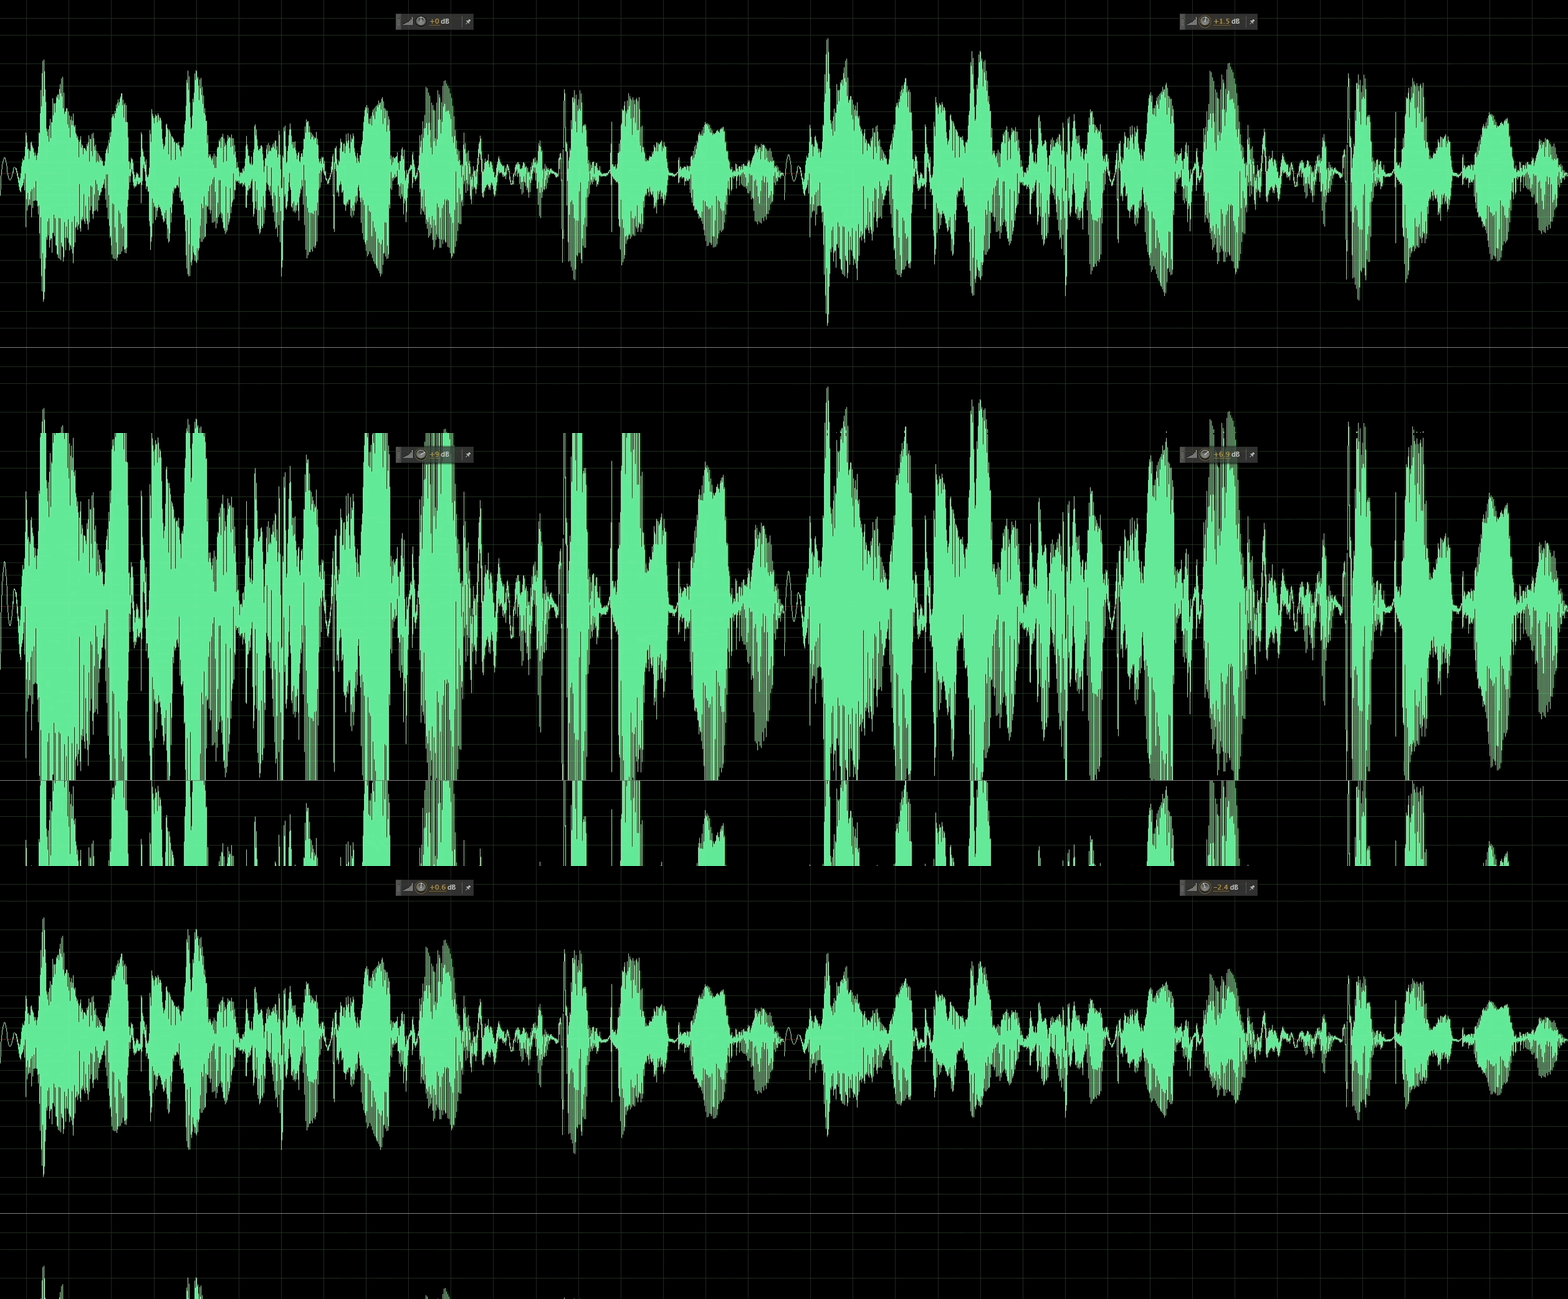
By adjusting the Gain up or down, you can increase or decrease the volume of your recorded audio. This is pretty useful if you have 2 microphones and one was quieter than the other during a recording. For reference, a good level to be at is around -12db.
Equalise and Neutralise
EQ is something that looks pretty complex but it’s not actually too hard to understand. When you look at EQ, (the screenshot here is Parametric EQ on Audition), you will see this line with dots on it.
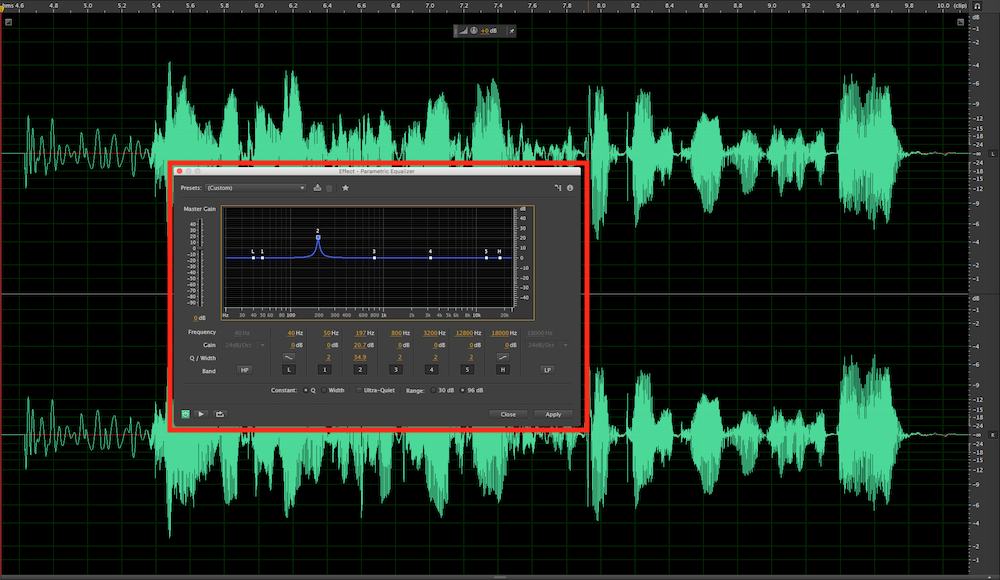
By moving these dots up or down, you can increase or decrease certain frequencies in your audio. This is super useful if you have a quiet noise in the background of your recording, like a low rumbling, or a fan perhaps, that you’d want to get rid of.
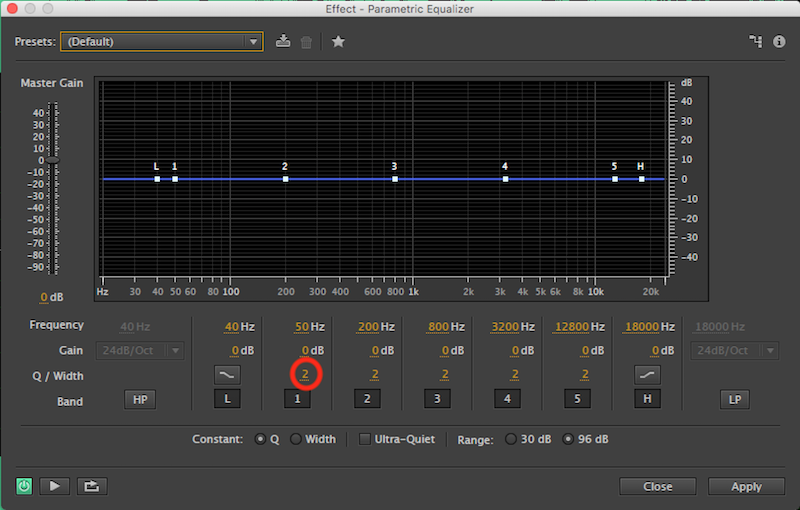
If you adjust the number circled above, you can make finer adjustments as well. This makes it easy to pinpoint where exactly the annoying noise is, and then eliminate it by dragging the dot down until it’s gone, or muted a decent amount at least!
Trim The Fat
The beauty of podcasting is that it’s all pre-recorded. If you make mistakes or stutter over your words, you can always cut it out and make it sound like it never happened! You can cut your audio by selecting the razor tool at the top when you’re in the Multitrack area, and making a cut either side of the bit of audio you want to remove. Then you select the bad chunk and hit delete on your keyboard. Magic!
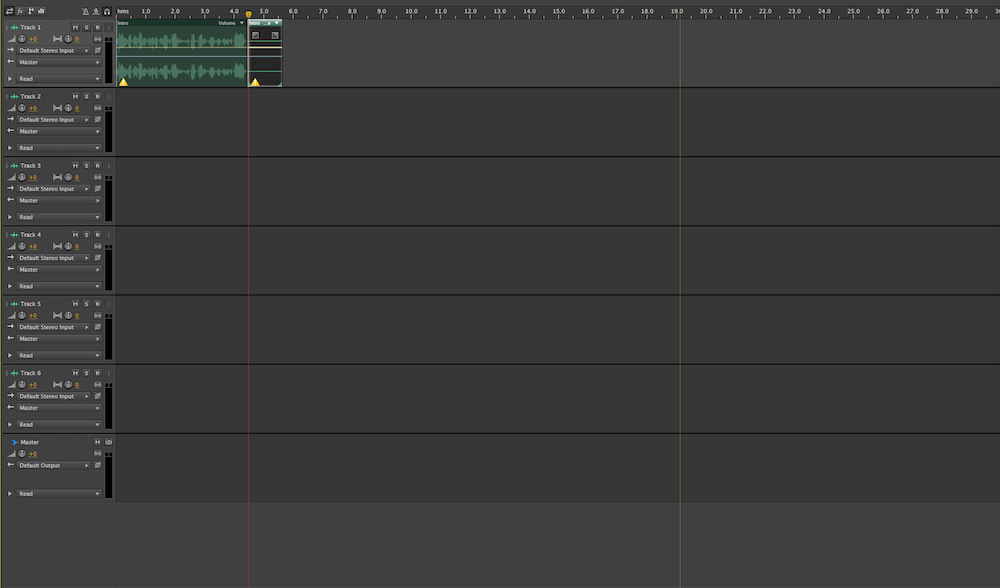
You can also highlight it in the normal Audio File area and hit delete, but this automatically stitches the two raw ends either side of it back up. This can sometimes result in things sounding unnatural so be careful if doing your trimming this way.
Use Presets to Make Your Podcast Audio Sing
Not everyone is lucky enough to have that silky smooth radio voice. But, there’s actually a magic trick to get you a little bit closer hidden in Adobe Audition!
When you’re in Multitrack, select the track with your voice recording on it. Then, go to the side and select the Effects Rack, then the first empty effect slot.
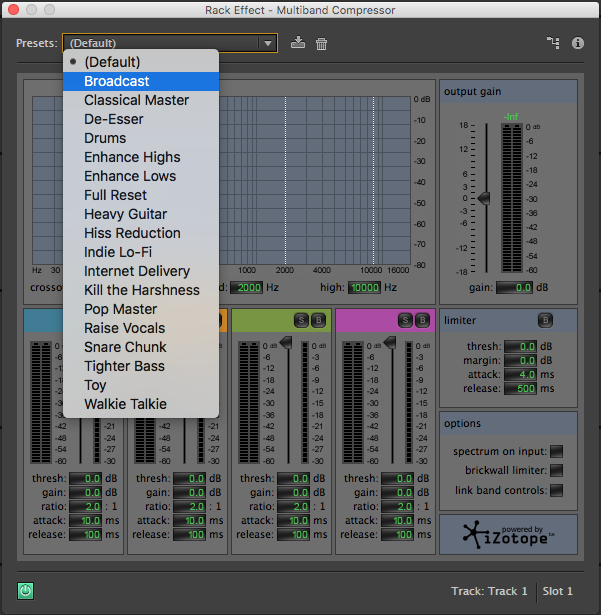
Then select Amplitude and Compression, then Multiband Compressor. When you enter the Compressor window, from the drop-down menu of presets, select Broadcast. Then just exit out of the window and play your audio. This preset just makes your voice sound mega professional and more “radio-esque”.
So with all those tips and tricks under your belt, you should be able to produce some pretty good sounding audio for your podcast! But if you feel like you still need some advice or help, feel free to contact us using the little speech bubble button in the bottom right of this page, or by emailing us at [email protected].


