Ever wanted your own branded microphone? Easily create epic DIY microphone windshields for your podcast to look professional during your recordings.
What You Will Need
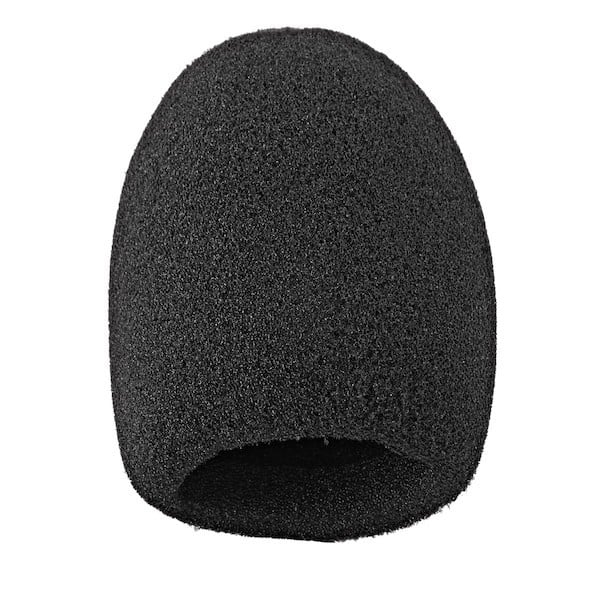
Microphone Windshield
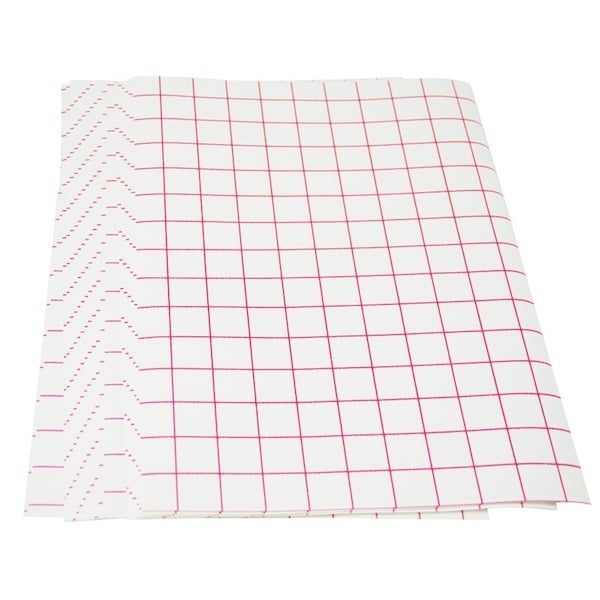
Transfer Paper
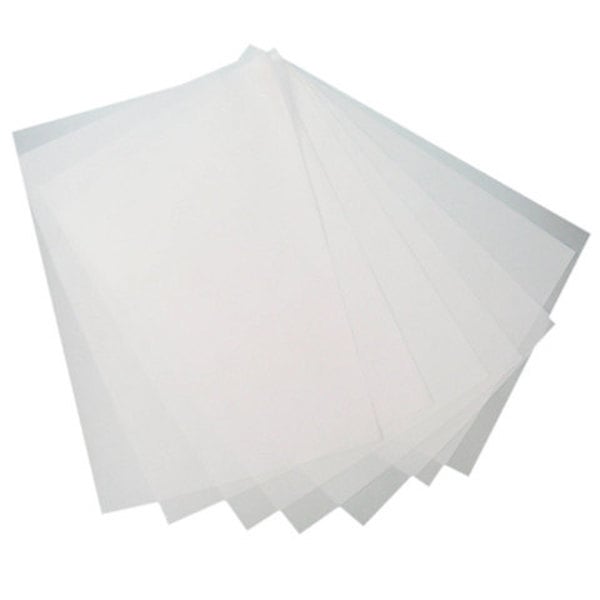
Tracing Paper
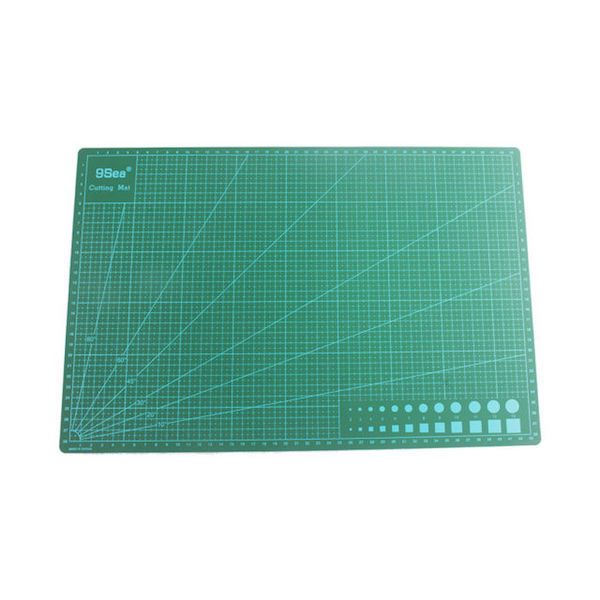
Cutting Board
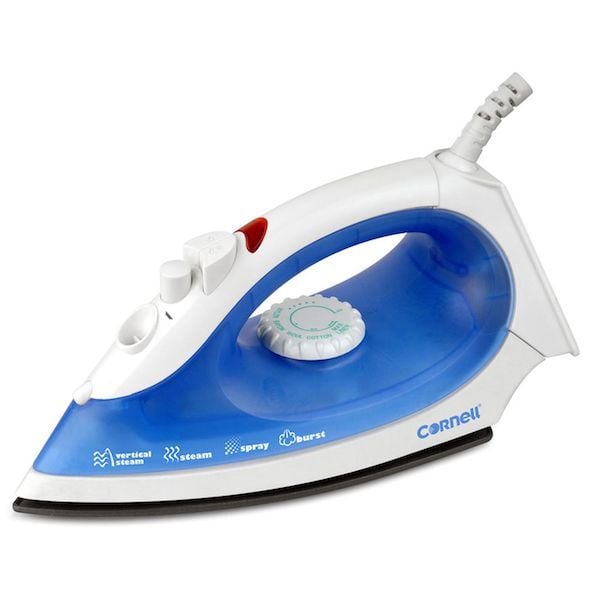
Iron
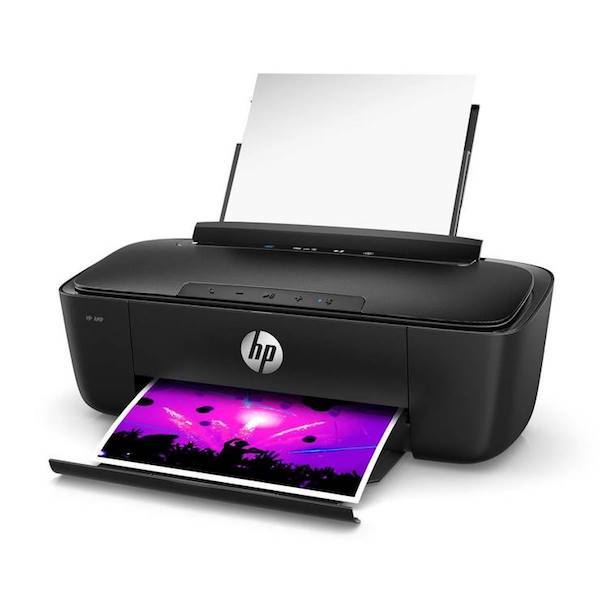
Printer
How to Create DIY Microphone Windshields
To create DIY microphone windshields, you'll need to decide on what logo or design you want on your windshield, resize and adjust it so that it will fit on your windshield and then print it out onto your transfer paper. The transfer paper we used can be bought on Amazon really cheaply, here.
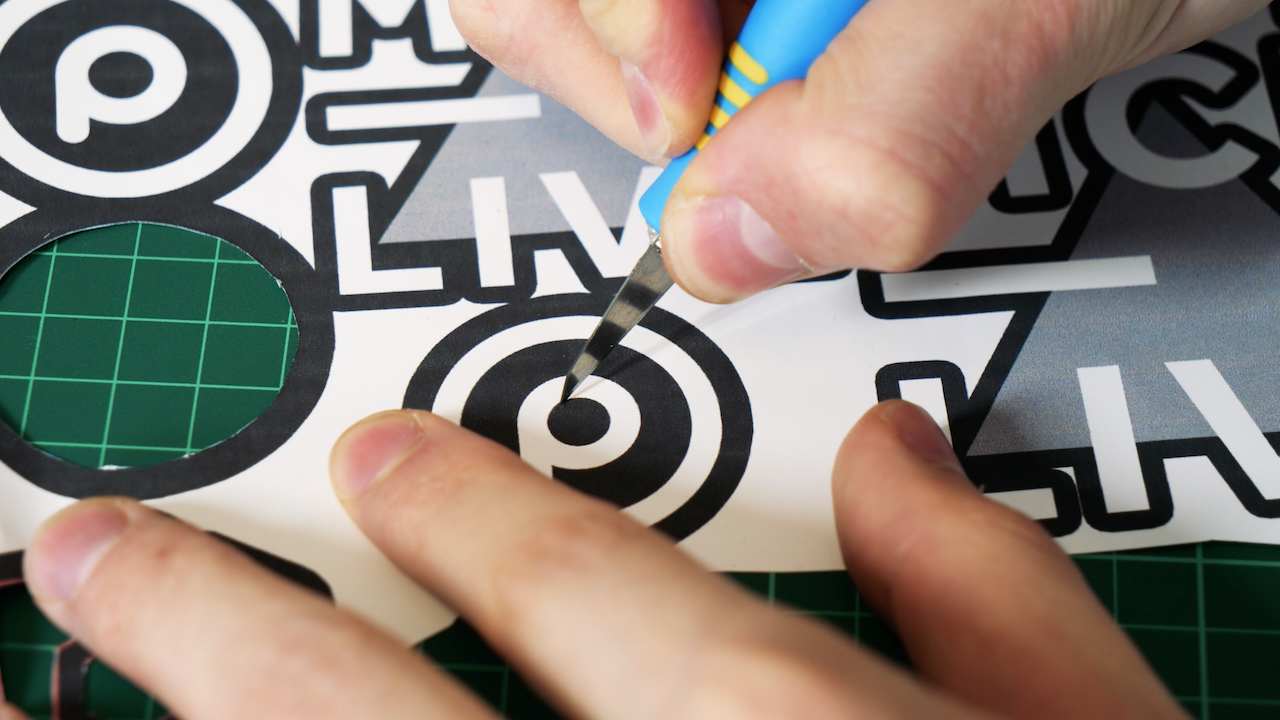
You’ll then need to cut out the logo or design using a craft knife, or scissors if it’s easier. Make sure if you use the craft knife that you cut everything on top of the cutting board to avoid damaging any tabletops or surfaces in your home or studio.
Note: The rest of these steps are based on you using the same transfer paper we have linked above. Other transfer papers may have different instructions so please follow those!
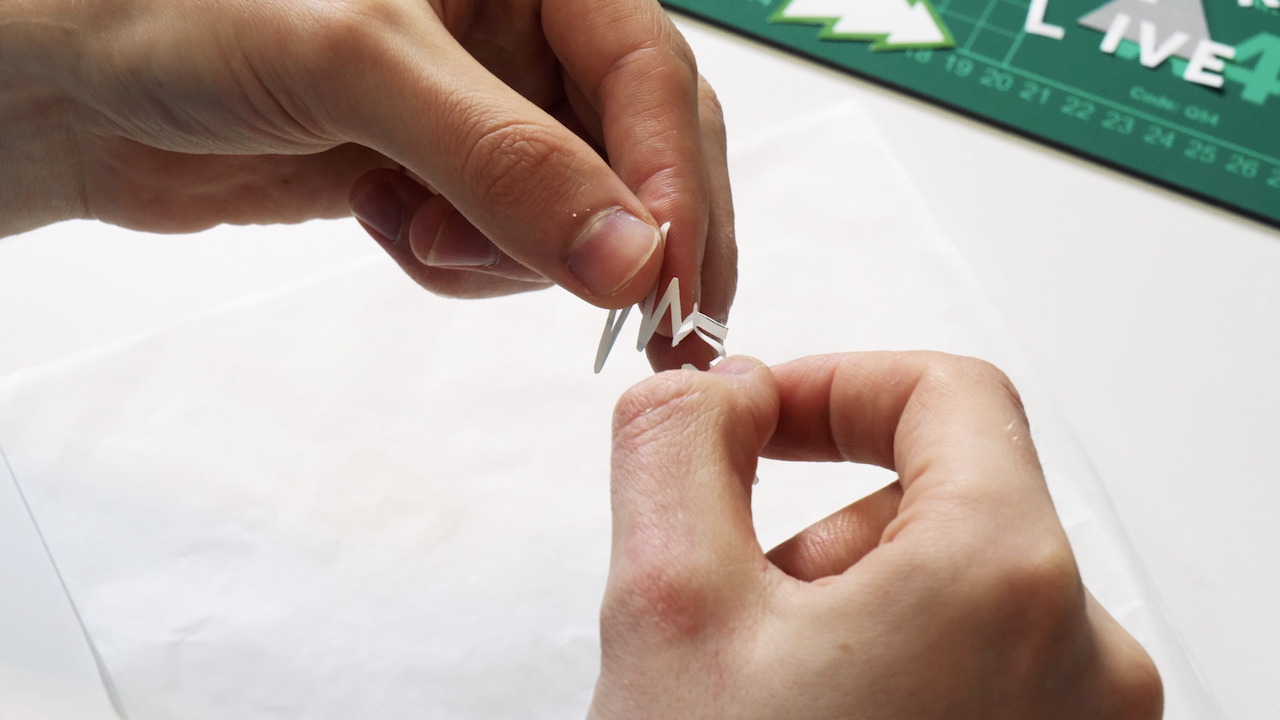
Once you have your logo or design cut out and ready to go, peel off the backing paper and stick it to your windshield in the position you want.
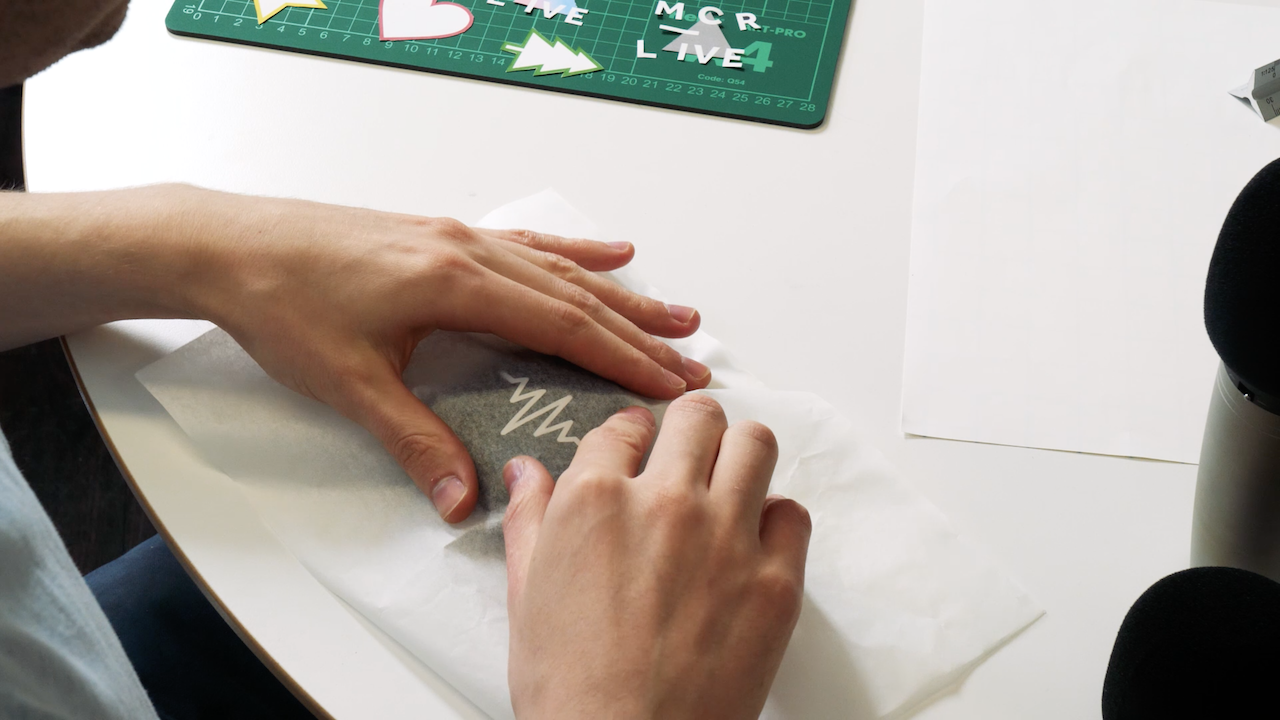
If it’s in the position you want, you can start ironing the design on! Pop the tracing paper over the design and start ironing on a low/medium heat in small circular motions. This is to make sure you don’t accidentally melt the windshield or the design.
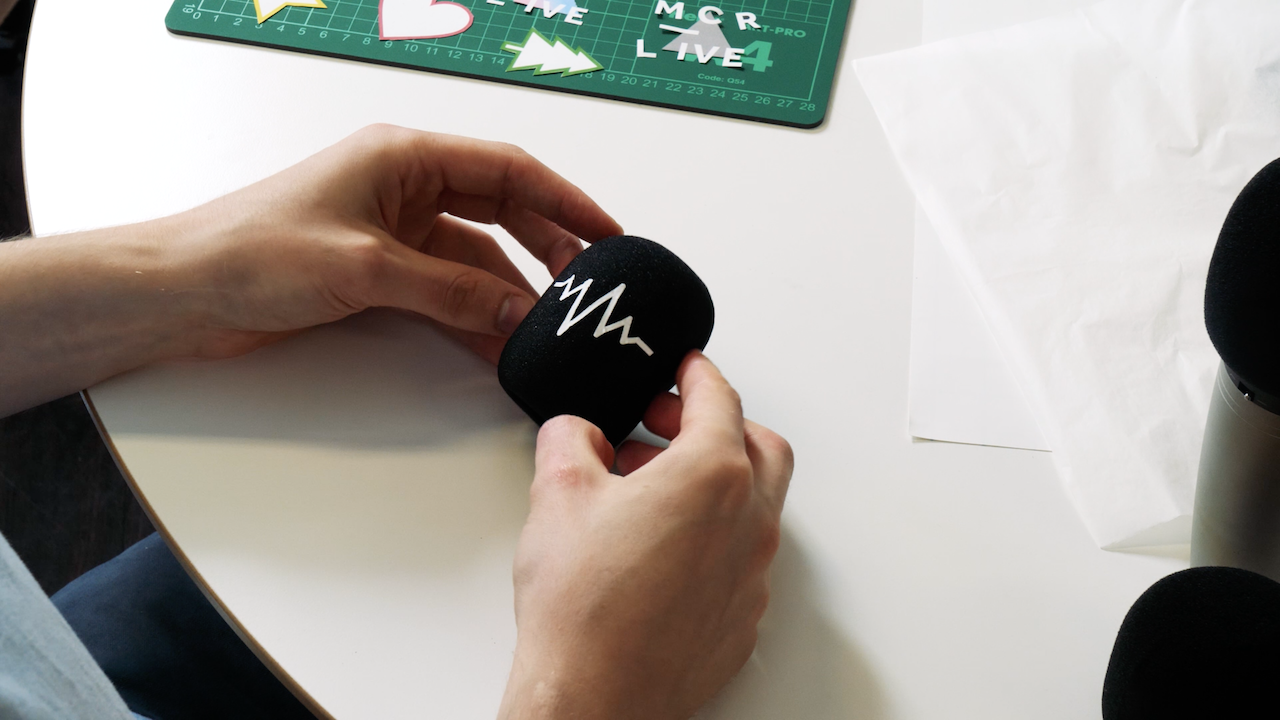
Once you think it’s stuck on there, pop your iron to one side and remove the tracing paper. Your logo or design should be stuck onto your windshield! But, it’s common for it to be a little bit bumpy or perhaps slightly raised on the edges at this point. Not to worry as there’s a way to fix that.
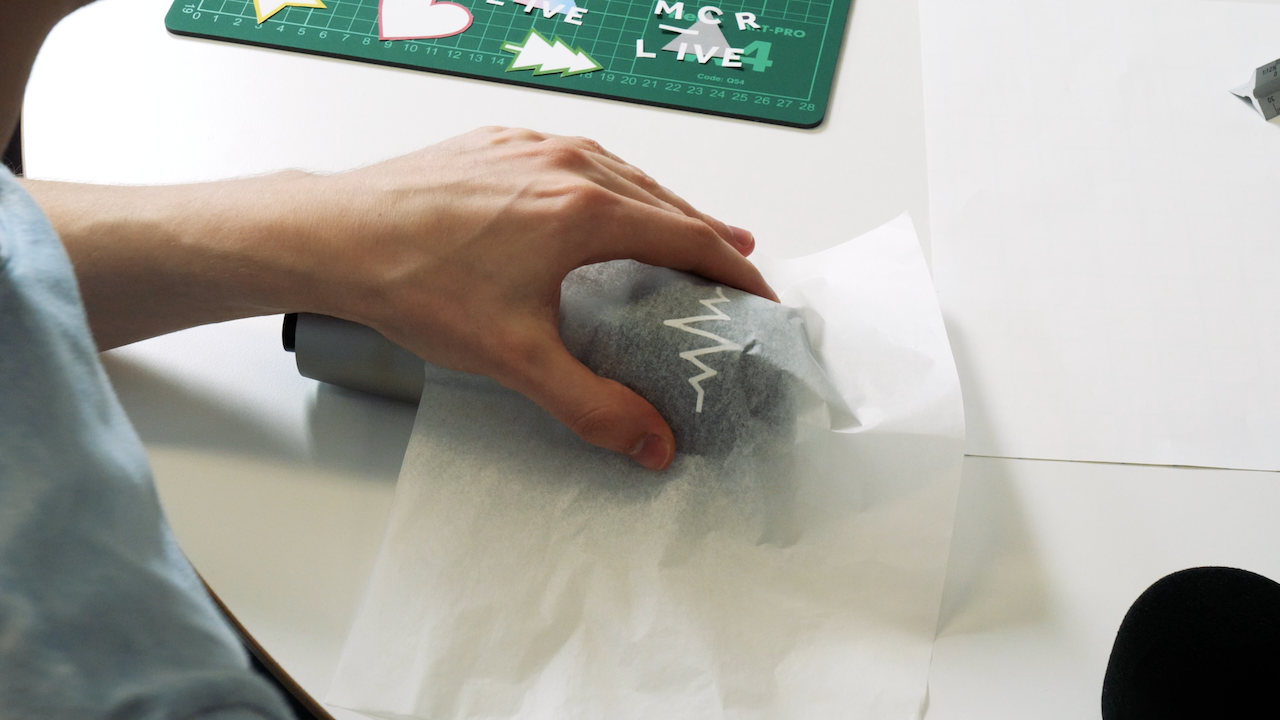
Pop your windshield onto your microphone. Now pop your tracing paper back over your logo. This next part may seem daunting, but this is why we have the iron on a low/medium heat. You’re going to iron over the logo, again in small circles. This will help the logo to curve more to match the curvature of the windshield when it’s actually on the microphone.
IMPORTANT: PLEASE MAKE SURE YOU HAVE THE IRON ON LOW/MEDIUM HEAT FOR THIS. YOU DO NOT WANT TO DAMAGE YOUR MICROPHONE!
Once this is done, remove the tracing paper again. This time, your logo should be nicely stuck down with no bumps or loose edges in sight. If you still have a few, just pop the tracing paper back over and go over it again.
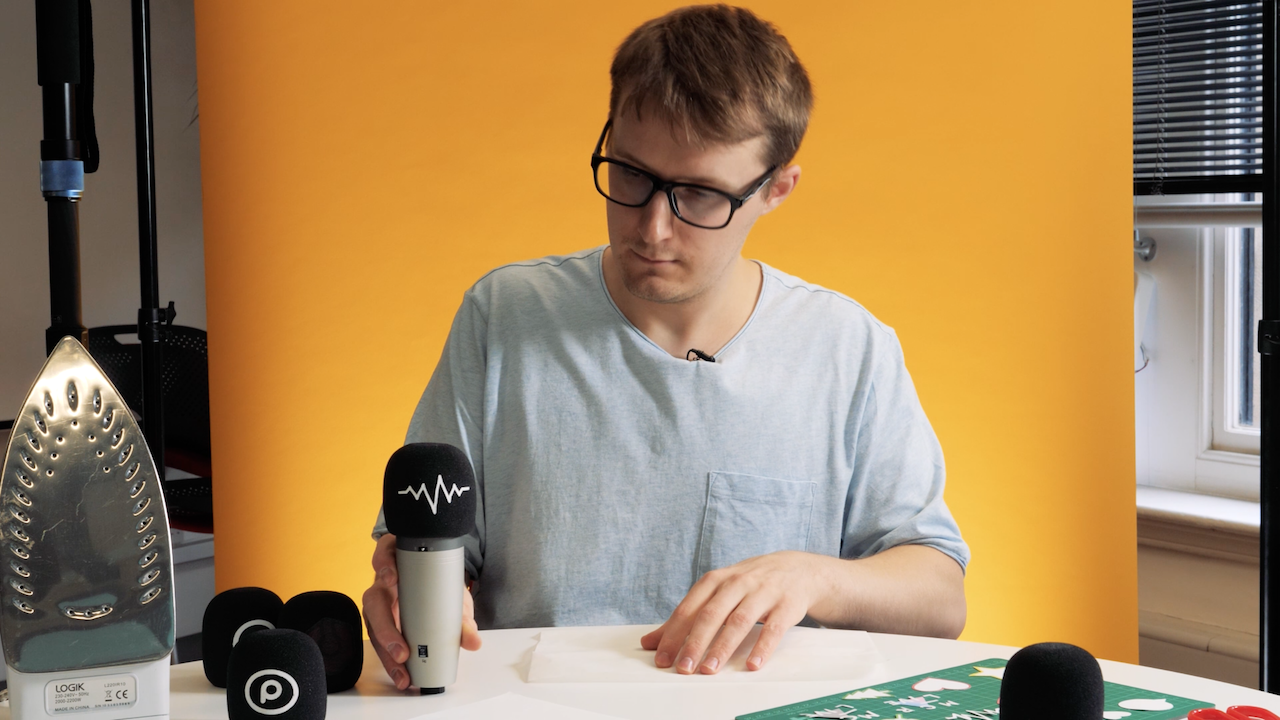
And there you have it! Your very own custom windshield to make your setup look even more professional.


